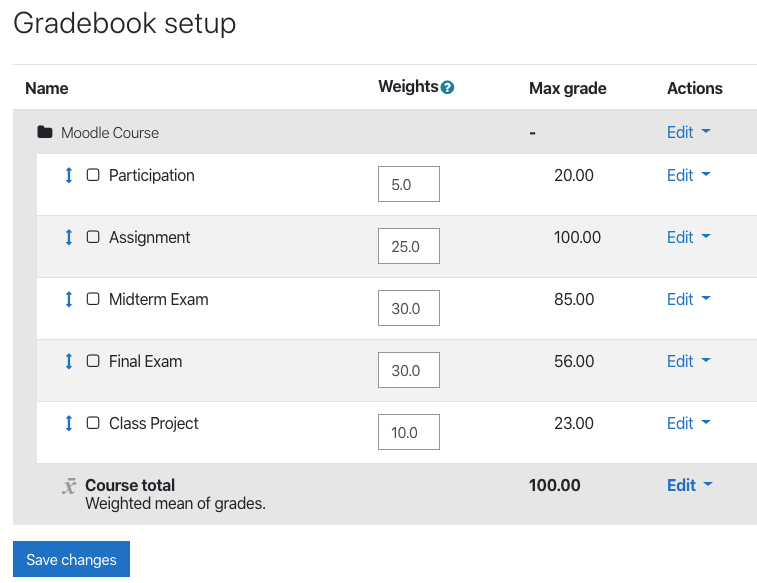
There are many ways to set up your Moodle Gradebook. This tutorial will show you the most basic set up.
To begin, get into your Moodle Gradebook by clicking on the Grades link within the course navigation row, just below the course title.

From this page switch to the “Gradebook Setup” page by clicking on the Grader Report drop down and selecting “Gradebook Setup”
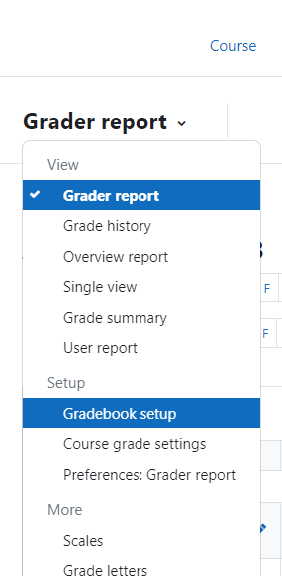
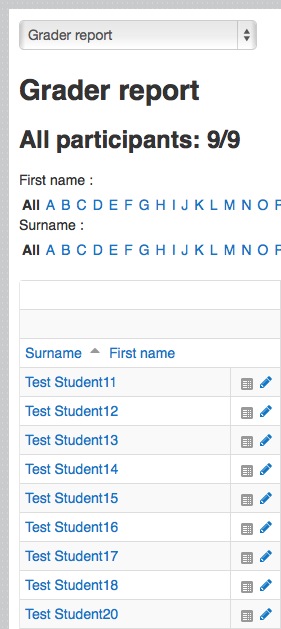
From the Gradebook Setup, you can access all areas related to the Gradebook. To navigate the Gradebook options, click on the Gradebook Setup dropdown list at the top. If you choose Grader Report, you will see a list of students enrolled in your class. This list gets updated automatically by the Registrar’s Office so your class list is always up to date.
To begin setting up your Gradebook, make sure the dropdown list at the top shows Gradebook Setup.
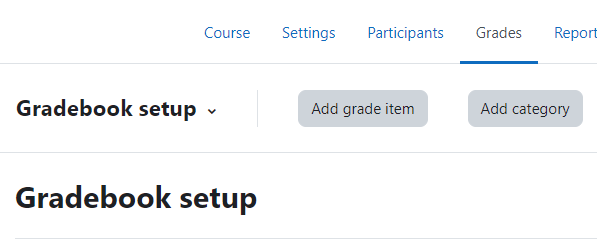
For the simplicity of this tutorial we are going to create grade items and weight them out of the course total. To start, at the Top of the page choose
Add Grade Item.
Give your grade item a title and then set the Max Grade to be out of the point value the item is worth.
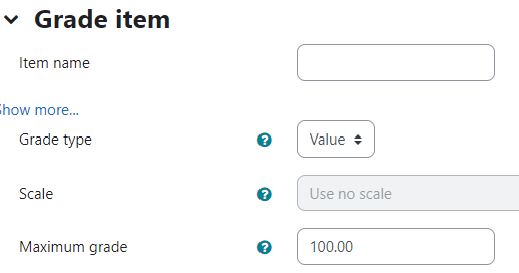
You can ignore the other options and hit Save Changes at the bottom.
You will now see the new grade item in your Gradebook.
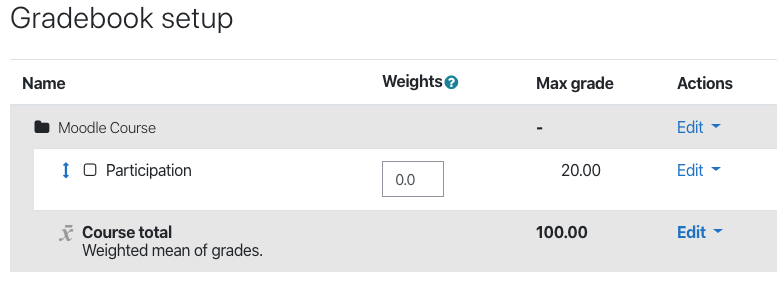
Next, you can weight the item to calculate a percentage out of 100. For example, the participation grade will count towards 5% of the final course total. To do this, in the weightings box type in 5 and then hit Save Changes at the bottom.
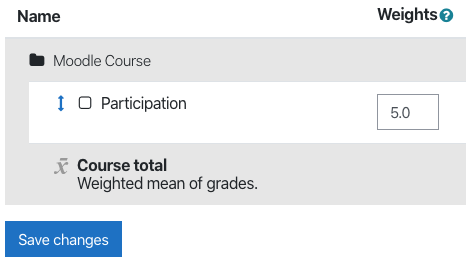
You can continue these steps until your Gradebook is complete.
NOTE: Make sure your weightings add up to equal 100 for Moodle to calculate things properly.
