
This tutorial demonstrates the LTI 1.3 for Turnitin assignments
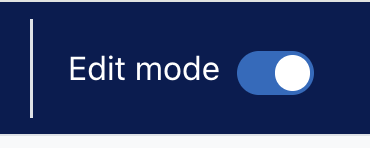
In your Moodle course, toggle Edit mode on (top right).
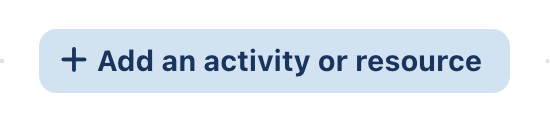
In the desired week or section, click Add an activity or resource.
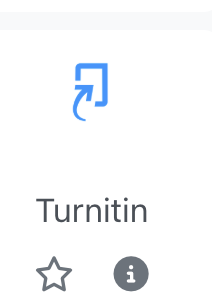
Select the Turnitin Assignment icon from the list of choices.
General Settings:
- Activity name: Enter the title of the assignment.
- Description: Provide instructions for your students (optional).
Click Show more… and make sure the Custom parameters field is empty.
With the LTI 1.3, the grades and user IDs are configured for you. No need to enter the LMS URL; everything is synced via deep linking.
Click Save and Display.
Once you click Save and Display, the Turnitin LTI 1.3 interface will launch within Moodle. You must complete this second stage to set your dates and similarity settings.
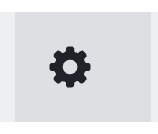
Click on the gear icon in the top left of the screen
Set Dates: Define your Start Date, Due Date, and Feedback Release Date.
- Note: The Feedback Release Date is when students can see their marks and comments.
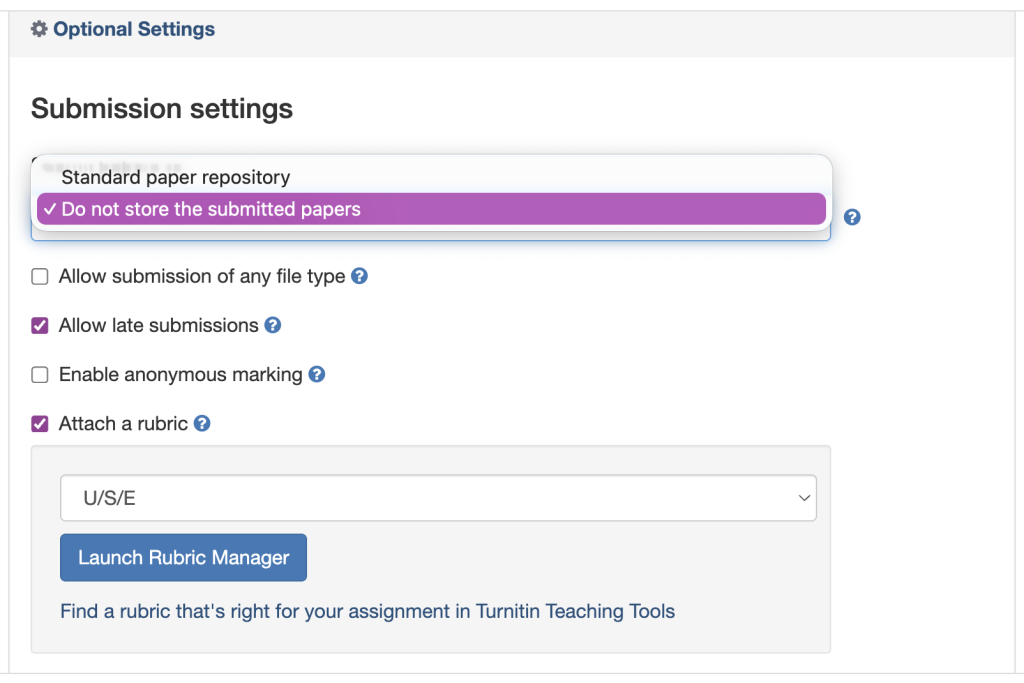
Optional Settings: Click the gear icon or “Optional Settings” link to configure:
- Submission Storage: Choose whether to add papers to the standard repository.
- Similarity Report: Decide whether students can see their reports and whether you want to exclude small matches or bibliographies.
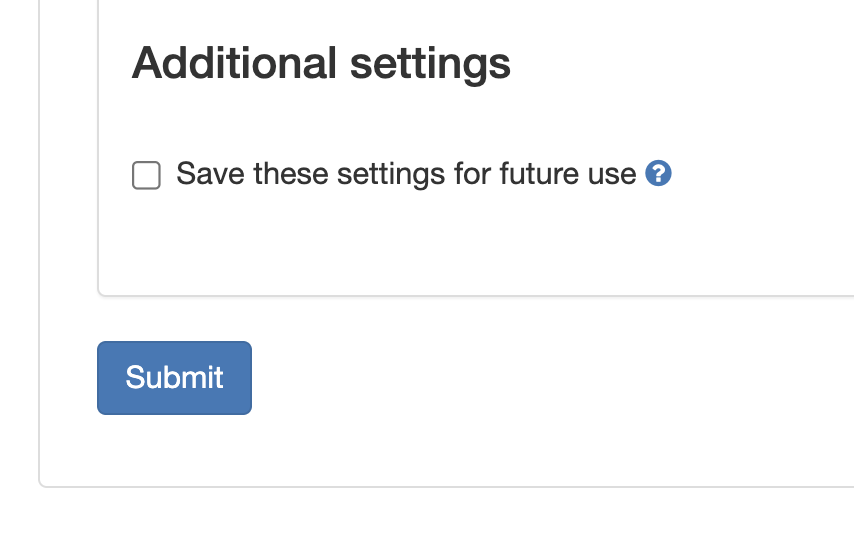
Once everything has been set to your specifications, be sure to click Submit. You can also choose whether to save these settings for future assignments.
Your assignment is now set up and ready to be synced with your student roster.