Assignments

Creating a Standard TurnItIn Assignment

Setting up a standard assignment relies on the Select Content deep-linking workflow, which bridges Moodle directly with Turnitin Feedback Studio.

Step-by-Step Setup:

1. Enable Editing

Go to your Moodle course homepage and toggle Edit mode on (located in the top right corner).

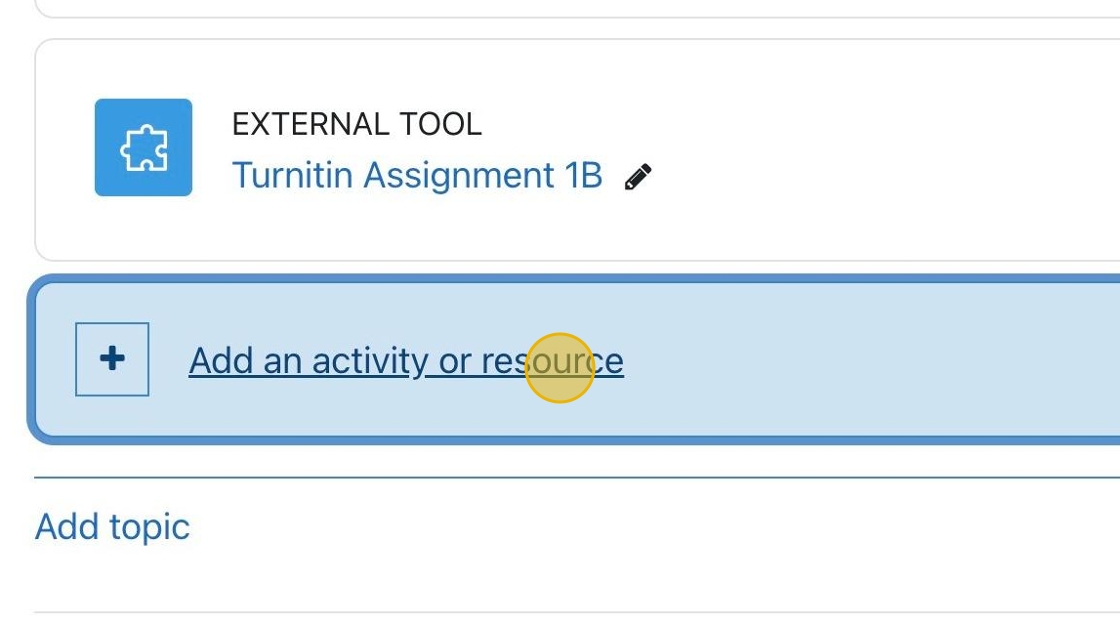
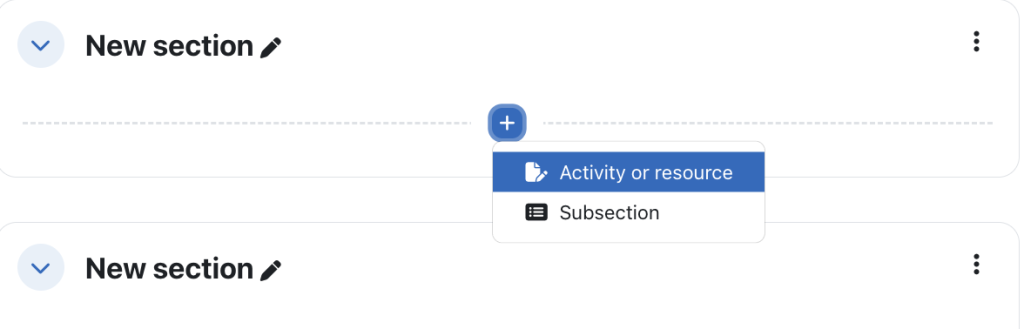
Locate the specific topic, section, or week where you want the Turnitin assignment to appear and click Add an activity or resource.
2. Choose Turnitin

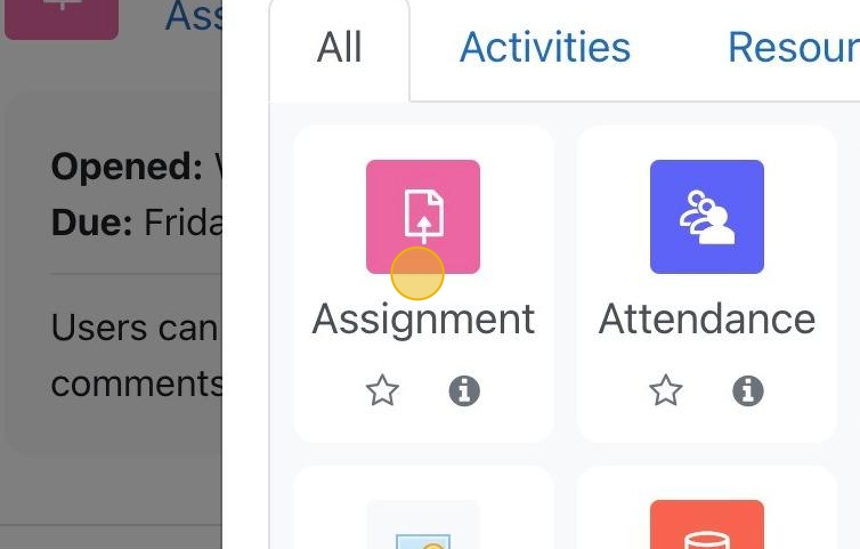
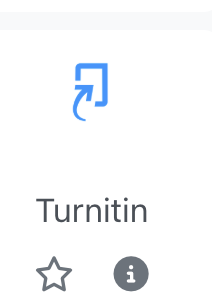
In the activity chooser, choose the Turnitin activity.
3. Select Content

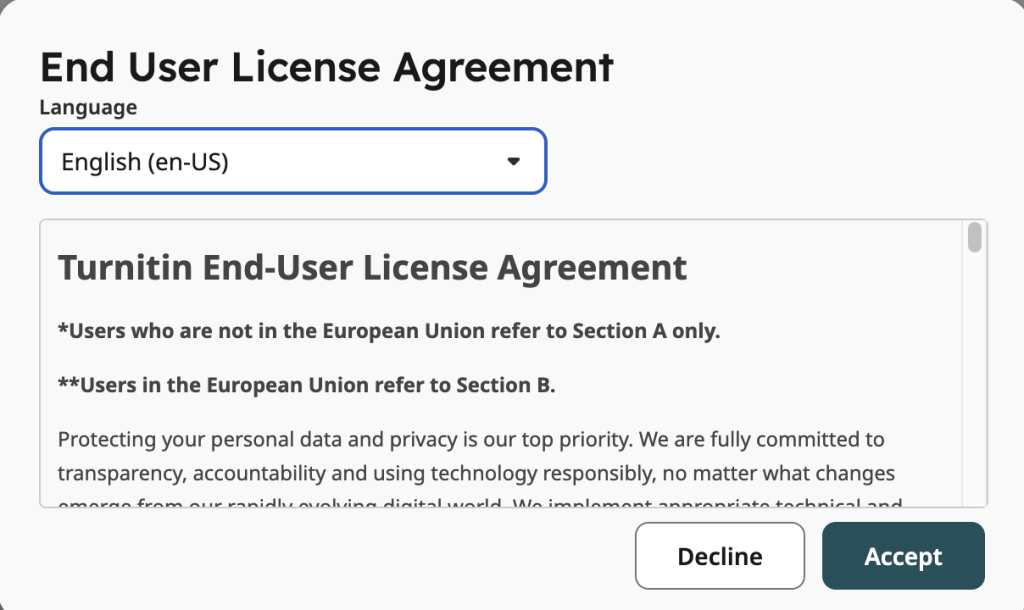
In the settings menu that appears, click the Select content button. This opens the Turnitin setup window via deep linking. (Note: If this is your first time using the integration, you may be prompted to accept an End User License Agreement).
4. Configure Assignment Details

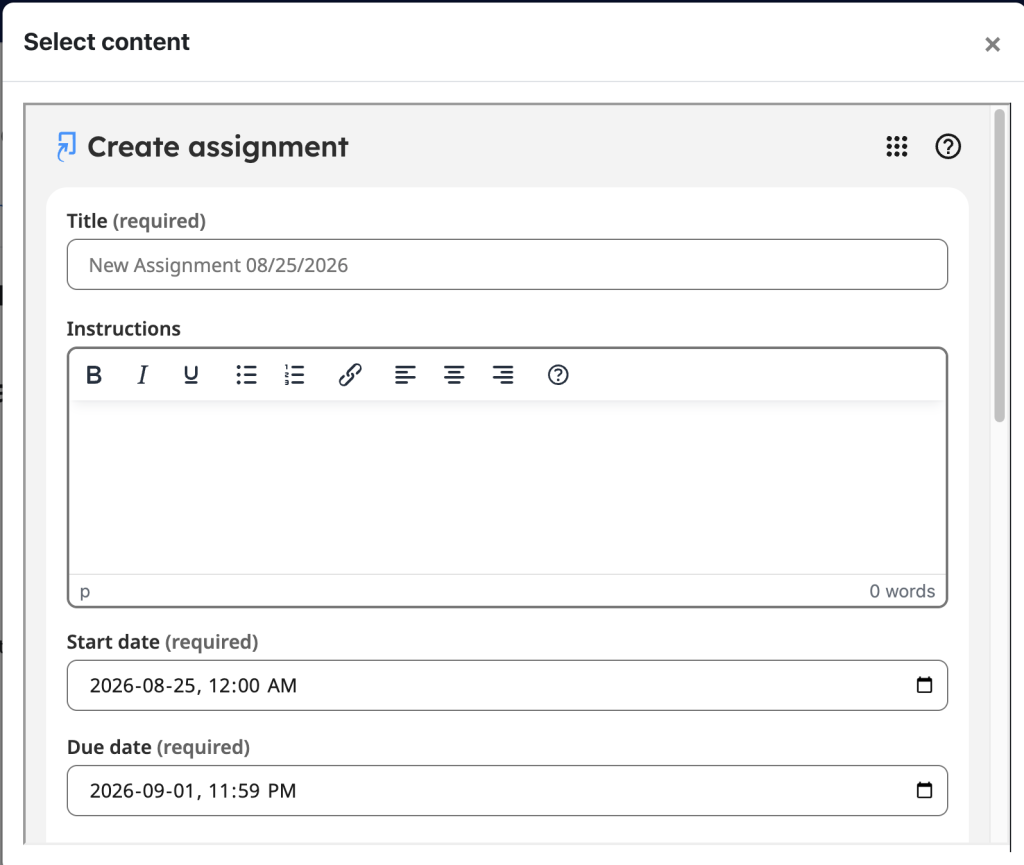
Configure your core assignment details within the Turnitin window or the External Tool tab

  • Enter the Assignment Title and Instructions.
  • Set your Start Date, Due Date, and Feedback Release Date.
5. Similarity Reports and Repositories

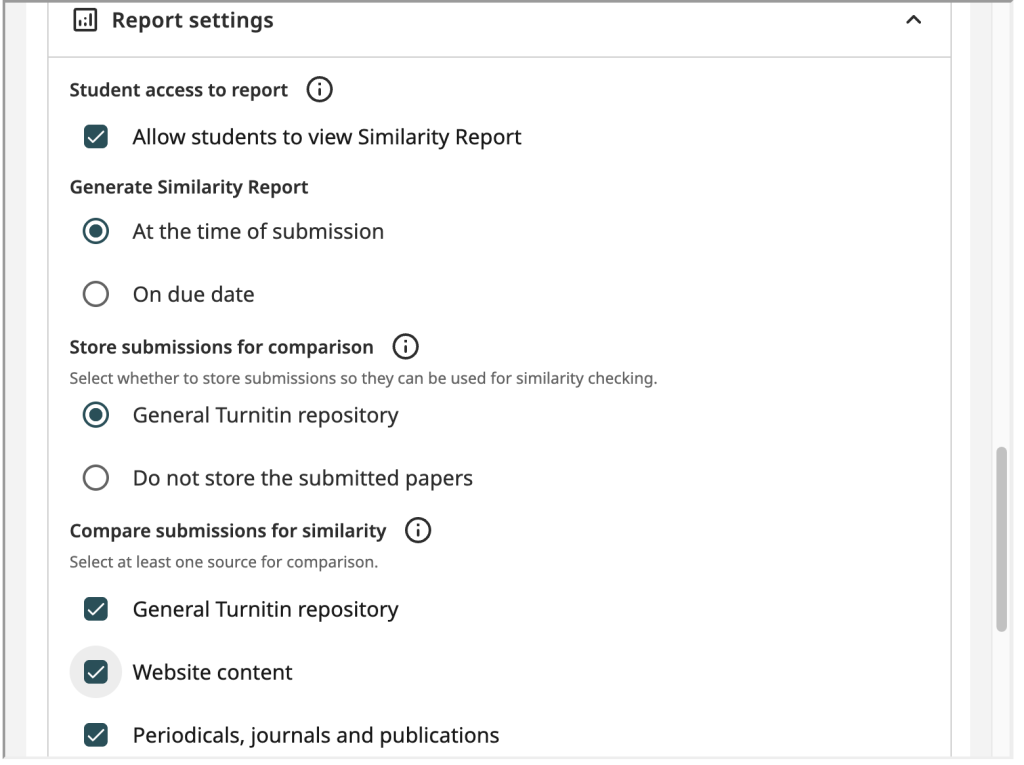
In the Report settings area, define your similarity report and repository choices.

  • Decide if you will allow students to view the Similarity Report after the due date or at the time of submission.
  • Choose Standard Paper Repository for final papers. Or choose Do not store submitted papers if students are submitting drafts.
  • Click Submit at the bottom of the Turnitin window to save these configurations.
  • The Turnitin window will close, and the Tool URL and Activity Name fields will automatically populate back into Moodle.
  • Scroll to the bottom of the Moodle settings page and click Save and return to course to complete the deployment.

    #turnitin #TO-DO #TUTORIAL #WORK 

    Designing Multipart Assignments in Turnitin

    Instructors are advised to structure multipart assignments by creating separate, sequentially organized Moodle activities for each phase of the project (e.g., Part 1: Draft Outline, Part 2: Peer Review/Feedback, Part 3: Final Draft).

    Why Use Separate Moodle Activities?

    1. Gradebook Clarity: Each part receives its own dedicated column in the Moodle Gradebook automatically, preventing scoring overlap or confusion.
    2. Individual Settings: You can apply custom settings for each submission phase. For instance, you can disable paper repository storage on Part 1 (Draft) so that the student’s final paper on Part 2 does not generate a 100% similarity match against their own draft.
    3. Clear Student Deadlines: Students see independent start dates, due dates, and feedback release dates on their course page and Moodle calendar for each milestone.

    Example Workflow Setup:

    1. Create Part 1 (Draft / Outline Submission):
      • Set up a Turnitin assignment following the steps in Creating a Standard Turnitin Assignment
      • Under Optional Settings, set Submit papers to as Do not store submitted papers. This ensures the draft is checked for similarity but not saved to the institutional database.
    2. Create Part 2 (Final Submission):
      • Repeat the setup process to create a second, distinct Turnitin activity.
      • Under Optional Settings, set Submit papers to the Standard paper repository. This will store the final work in the database and cross-reference it against external databases and future student submissions.
    3. Organize on Moodle Homepage: Use Moodle’s drag-and-drop handles to position the assignments sequentially within the same module or section.
      • Rename them clearly (e.g., “Research Project – Part 1: Initial Draft” and “Research Project – Part 2: Final Report”).

    Time-Saver — Duplicating and Copying Existing Assignments

    Instructors can now successfully copy, duplicate, or import existing assignments from previous semesters.

    However, copied assignments are not automatically active on the Turnitin side. To prevent students from encountering error messages, instructors must complete a quick, manual activation/initialization step.

    How to Duplicate within a Course

    1. Duplicate or Import:
      • To duplicate in the same course: Turn on Edit mode, click the three-dot action menu next to the existing Turnitin assignment, and select Duplicate.
    2. Identify Unlinked Activity: The copied assignment will appear on your course page, but it is currently an empty shell on the Turnitin server.
    3. Launch & Link (Crucial Step): Click the copied Turnitin activity link. Moodle will initiate a handshake with Turnitin.
    4. Update Dates & Save: Turnitin’s setup interface will open in deep-linking mode and detect that this is a duplicated or imported activity.
      • Review and adjust your Start DateDue Date, and Feedback Release Date to match your new semester’s schedule.
      • Verify the settings under Optional Settings (such as rubric attachments and submission folders) which are carried over from the original assignment.
      • Click Submit at the bottom of the Turnitin configuration window.
    5. Ready for Use: Once you click Submit, the link is initialized. A new, empty Turnitin Assignment Inbox is created specifically for this new course, ready to accept student submissions without carrying over any student files or history from the previous semester.

    Using Crowdmark: Instructor Workflows

    Once you have successfully added your Crowdmark activity to Moodle and synced your student roster, the heavy lifting is done! From this point forward, you will be working directly inside the Crowdmark platform to build, deliver, and grade your assessments.

    Crowdmark’s interface is designed to be intuitive and flexible. To help you get the most out of their tools, we have curated the most helpful guides directly from the official Crowdmark Help Center. Whether you are running an in-person paper exam or an online assignment, the resources below will walk you through exactly what you need to know.

    1. Choosing Your Assessment Type

    When you first launch your assessment, Crowdmark will ask you to choose a format.

    • Administered (In-Person): Choose this for paper exams that students will write in a classroom. You will print a booklet, administer the test, and scan the pages back into Crowdmark for grading.
    • Assigned (Online): Choose this for homework, take-home exams, or remote tests. Students will log in, view the questions, and upload their own files or type their answers directly into the system.

    2. Creating Questions & Formatting

    Crowdmark makes it easy to build your assessments, offering multiple-choice questions, text entries, and file uploads. You can also format your text with bolding, lists, and even mathematical equations.

    3. Printing, Scanning, and Matching (In-Person Exams Only)

    If you are running an Administered paper exam, Crowdmark uses a unique QR-code system to keep everyone’s pages perfectly organized.

    4. The Grading Interface & Feedback Tools

    This is where Crowdmark really shines. The grading dashboard is built for speed and consistency, especially if you are working with a team of TAs.

    5. The Student Perspective

    It is always helpful to know what your students are seeing. When an assessment is ready, direct your students to click the Crowdmark link located inside your Moodle course.

    Need help with the Moodle side of things? If you are having trouble syncing your students or pushing your final grades back into your Moodle Gradebook, head back to our local Moodle Answers tutorials:

    Grading with a Rubric

    1. Now that the rubric is all setup, we can start grading the submissions.

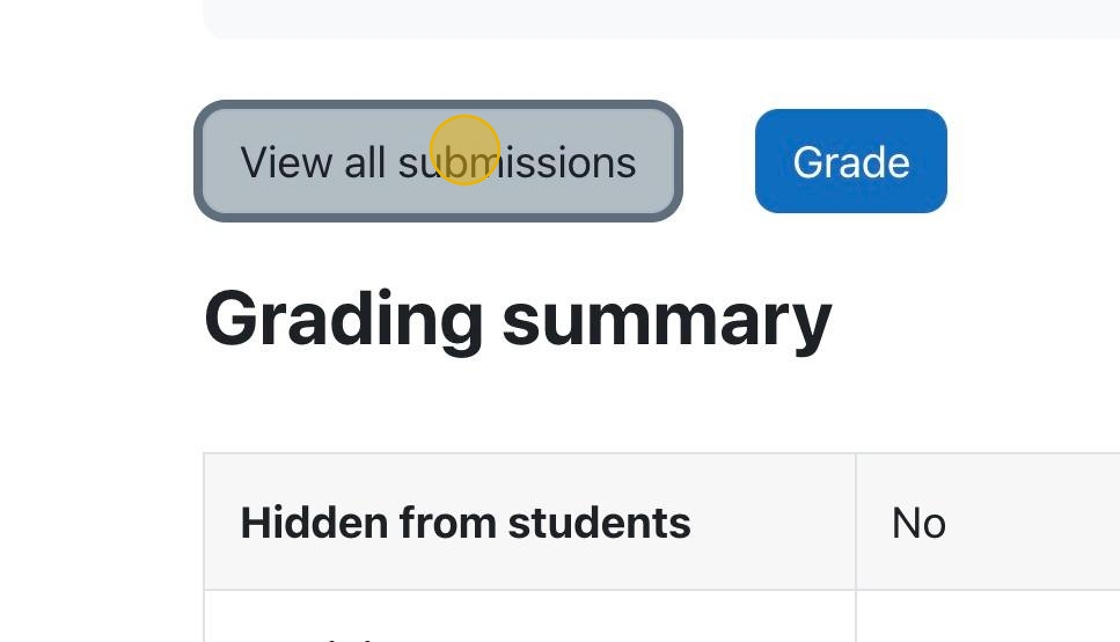
    Click “View all submissions” to see all the submissions so you can select specific submissions to grade.

    (more…)

    Creating a Rubric for an assignment

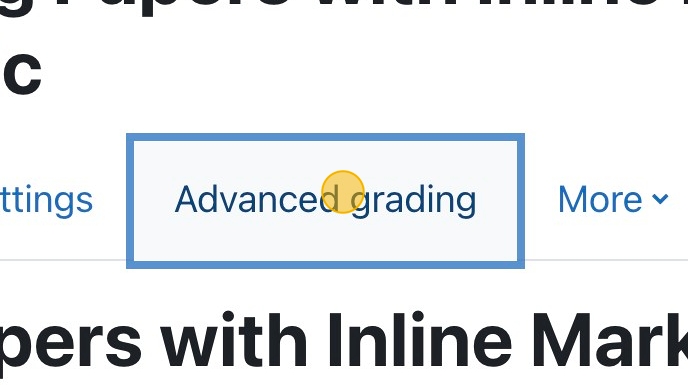
    1. If you have already set the assignment settings, then click “Advanced grading.”

    (more…)

    Assignment settings to use a Rubric

    1. Click on an assignment to be taken to the assignment page. Alternatively, you can add a new activity or resource and choose “Assignment.”

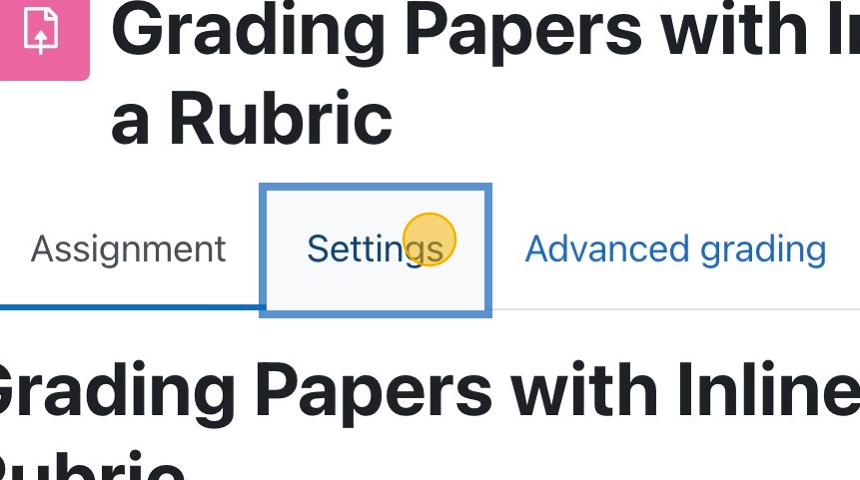
    2. Click “Settings” to see ALL the assignment settings.

    (more…)

    Providing Feedback Files When Grading Moodle Assignments.

    1. Navigate to the assignment you are grading.

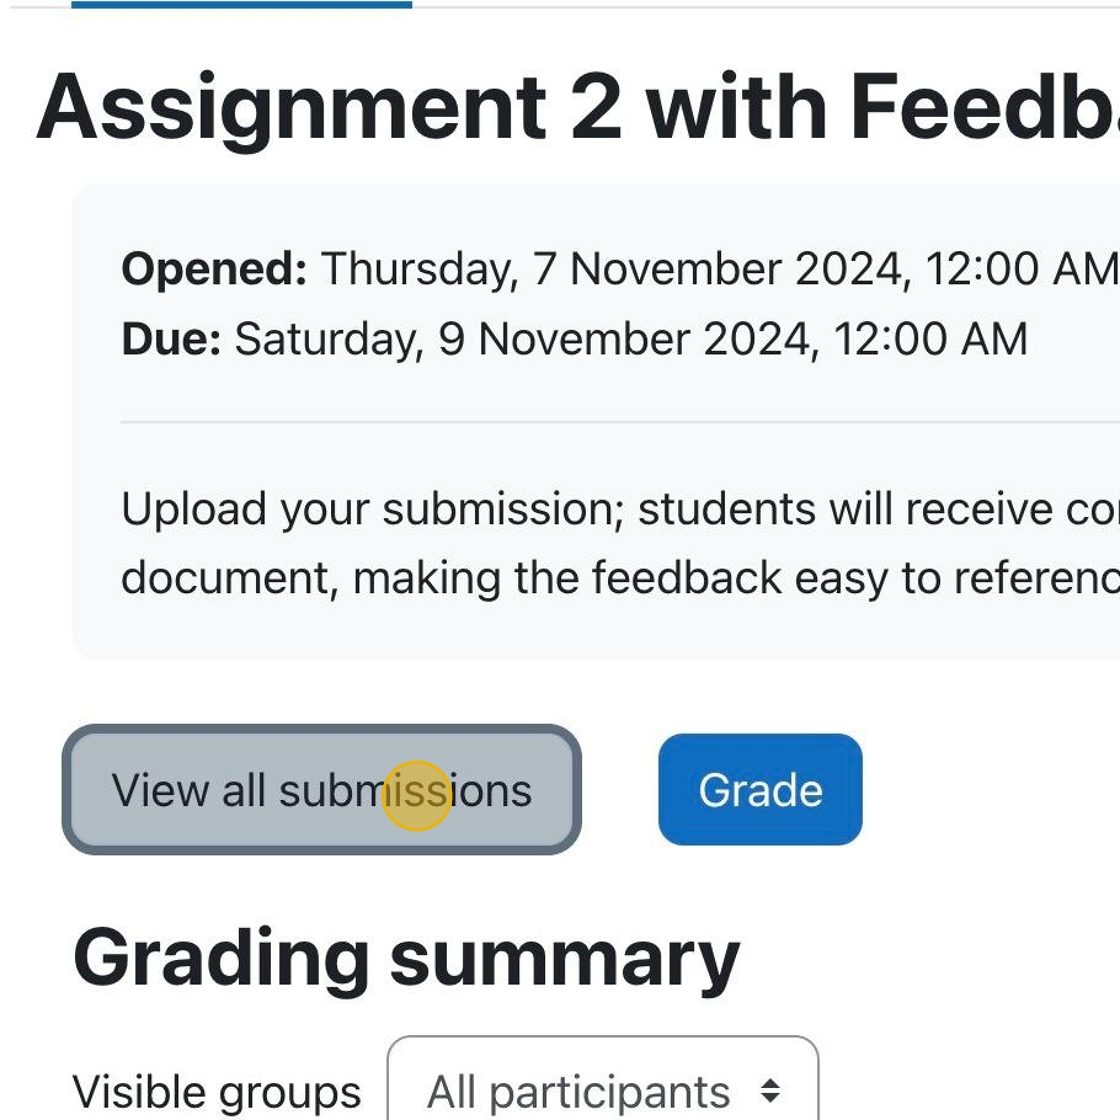
    Click “View all submissions.”

    (more…)

    How To Grade Assignments and Provide Feedback with inLine Comments

    1. In your course, click on the assignment for which grading is required.

    2. You can click “View all submissions ” to choose a specific student to grade.

    (more…)