Setting up a standard assignment relies on the Select Content deep-linking workflow, which bridges Moodle directly with Turnitin Feedback Studio.
Step-by-Step Setup:
1. Enable Editing
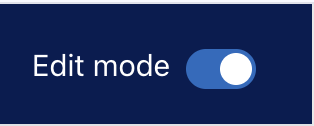
Go to your Moodle course homepage and toggle Edit mode on (located in the top right corner).
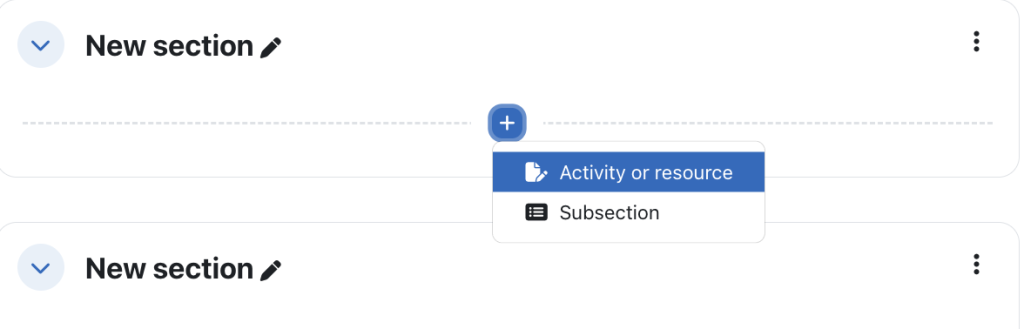
Locate the specific topic, section, or week where you want the Turnitin assignment to appear and click Add an activity or resource.
2. Choose Turnitin
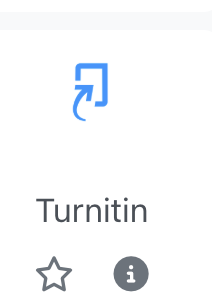
In the activity chooser, choose the Turnitin activity.
3. Select Content
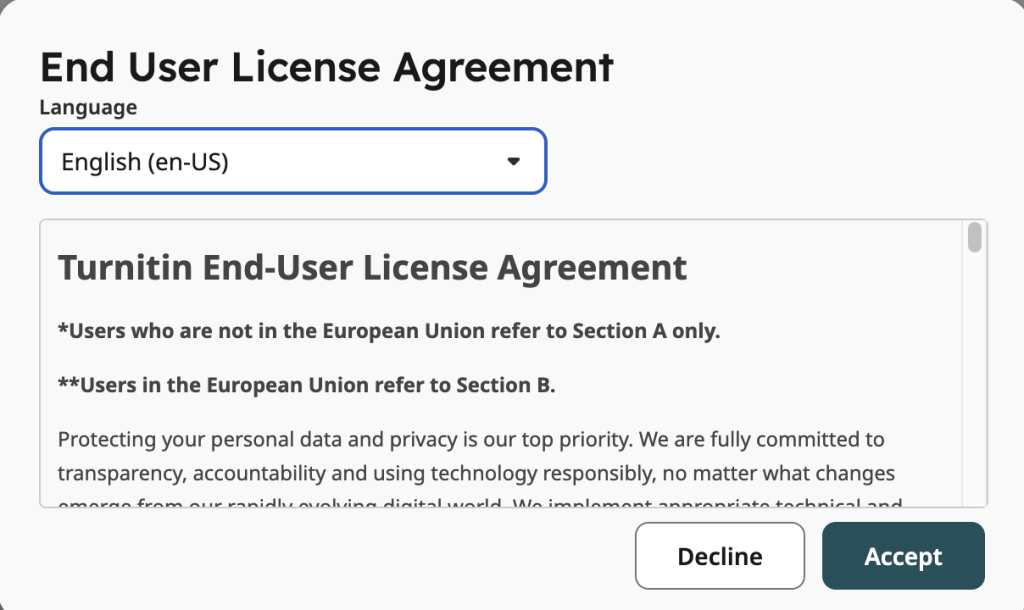
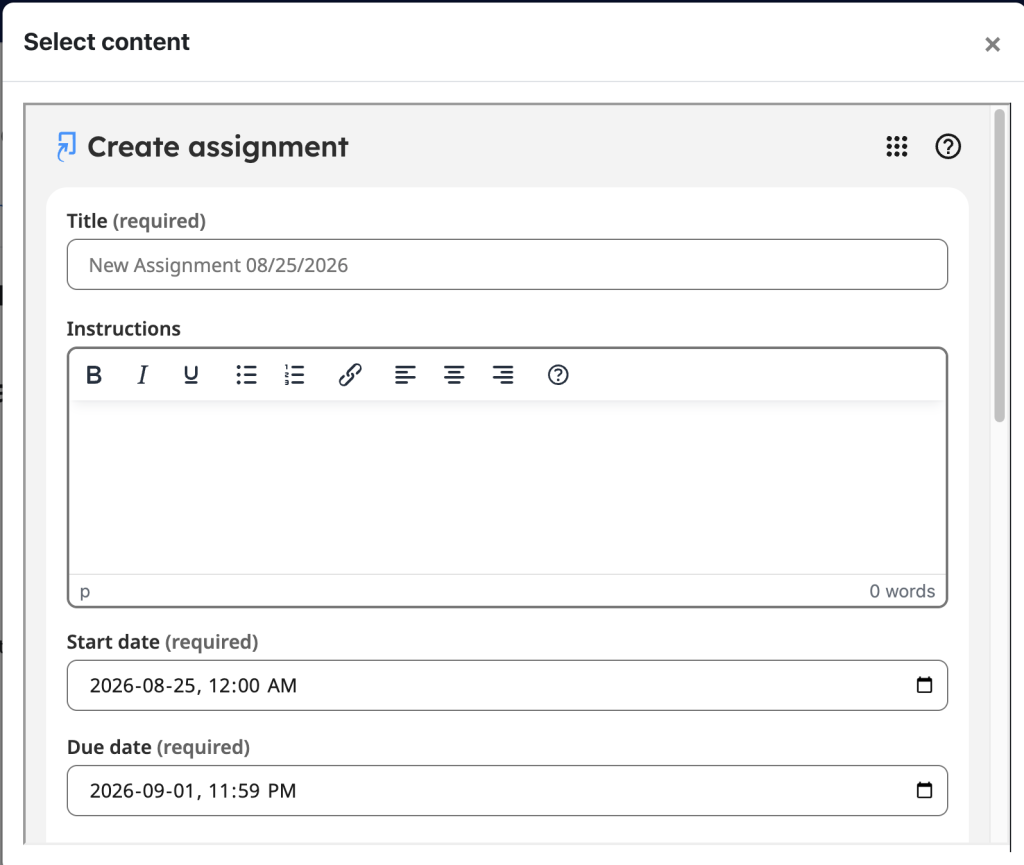
In the settings menu that appears, click the Select content button. This opens the Turnitin setup window via deep linking. (Note: If this is your first time using the integration, you may be prompted to accept an End User License Agreement).
4. Configure Assignment Details
Configure your core assignment details within the Turnitin window or the External Tool tab
- Enter the Assignment Title and Instructions.
- Set your Start Date, Due Date, and Feedback Release Date.
5. Similarity Reports and Repositories
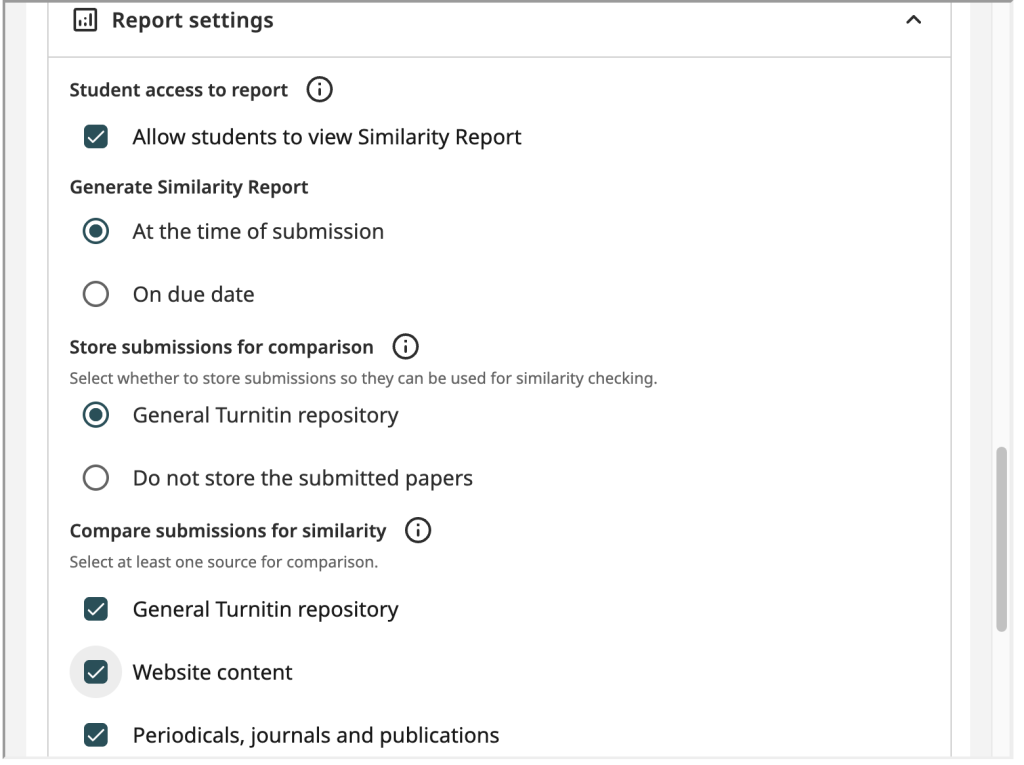
In the Report settings area, define your similarity report and repository choices.
- Decide if you will allow students to view the Similarity Report after the due date or at the time of submission.
- Choose Standard Paper Repository for final papers. Or choose Do not store submitted papers if students are submitting drafts.
- Click Submit at the bottom of the Turnitin window to save these configurations.
- The Turnitin window will close, and the Tool URL and Activity Name fields will automatically populate back into Moodle.
- Scroll to the bottom of the Moodle settings page and click Save and return to course to complete the deployment.
#turnitin #TO-DO #TUTORIAL #WORK