Yuja

Getting started with YuJa

Initializing Your Course Channel

Navigate to your course homepage in Moodle and toggle Edit mode on (located in the top right corner).
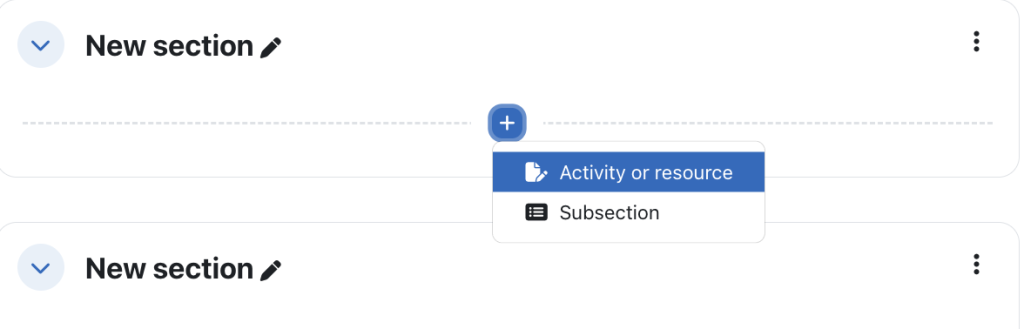
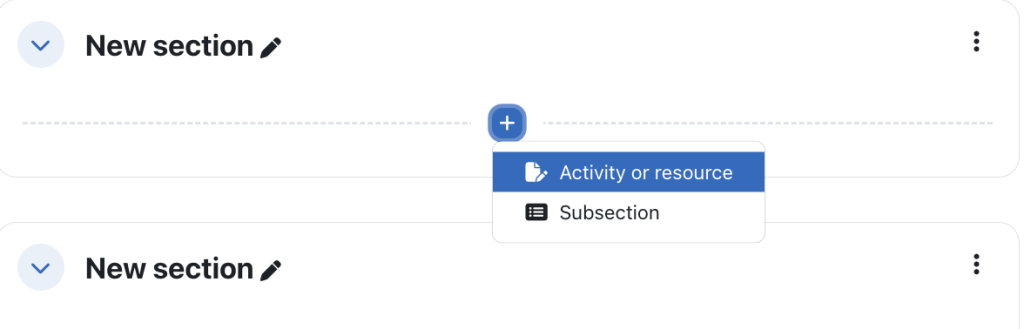
Add an activity or resource

  1. Locate the  “Resources” section you wish to add to, and click Add an activity or resource.
  2. In the activity chooser, select pre-configured YuJa 1.3 
3. Under “Activity name,” type a recognizable title for students, such as “UOFL 1000 X – Video Channel.”

4. Scroll to the bottom, click Save, and return to Course.


Critical Final Step

  1. Click the newly created YuJa link on your course page. 
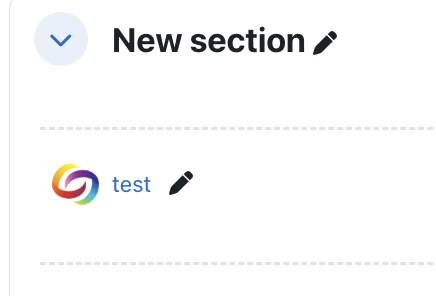
    Click on this link to initialize Yuja in your course.
  2. Clicking this link for the first time authenticates your account and automatically generates the course folder within the YuJa platform.

The following interface will open, displaying all course Yuja resources
Embedding Specific Videos via the Text Editor 

Instructors can embed YuJa media anywhere in Moodle that uses the rich text editor (such as Labels, Pages, or Forum posts) by utilizing the YuJa Media Chooser integration

Step-by-Step Setup:

  1. Navigate to your Moodle course and ensure Edit mode is turned on.
  2. Once you have chosen to add an activity or resource, select the Text and Media area from the Resources tab.


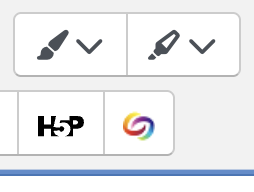
  3. In the Text and Media area, choose the YuJa Media Chooser icon from the toolbar.


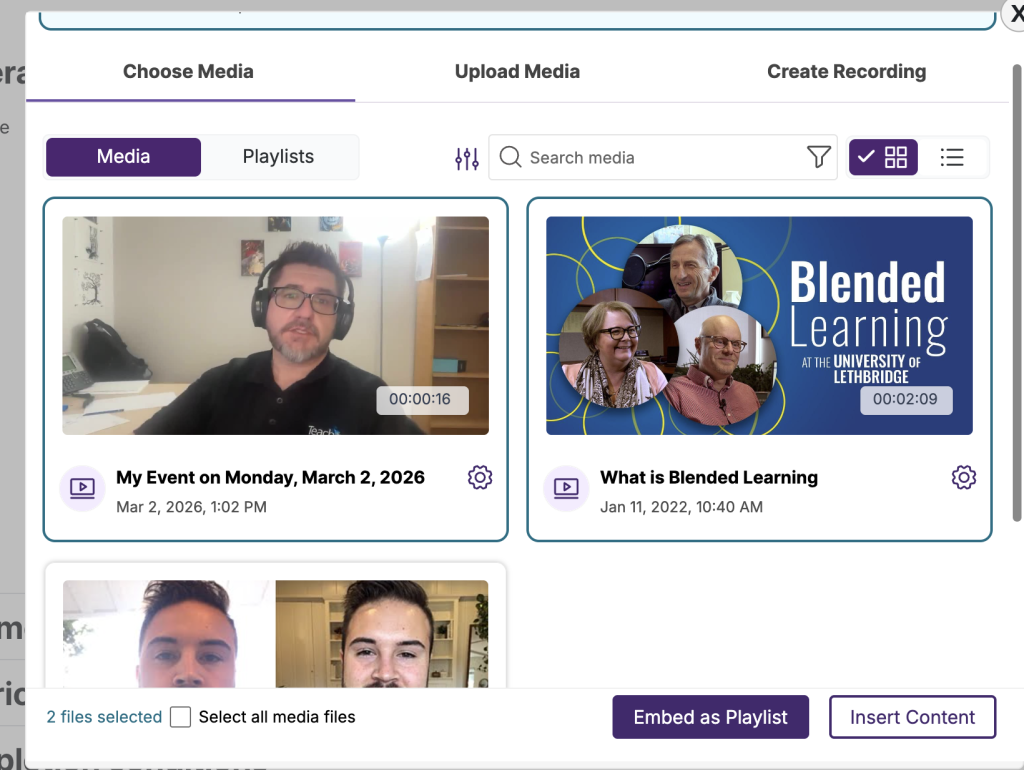
  4. Browse or search your media library, and click to select one or more videos.
    • Tip: To create an organized playlist, check the Embed As Dynamic Playlist option before selecting multiple videos OR Click the Insert Content button to embed the video(s) directly into your text area.

      The Media Chooser window will launch. Select the Choose Media tab.
  5. Add any additional text or description to the editor, then click Save and return to course to deploy the content.


Key Yuja Tutorials for Instructor Workflows

Creating a Recording with Software Capture for PC

Instructors can use the Software Capture desktop application to record their screen, webcam, and system audio. This is the recommended method for offline recording or when needing advanced capture settings.

Using the Browser Capture Studio

For users who cannot install software or prefer a lightweight option, Browser Capture allows creators to record videos directly from their web browser without any additional downloads.

    Using the Video Editor

    The Video Editor allows instructors to edit videos created with Software Capture or Browser Capture, as well as uploaded content. Features include trimming, chopping, and managing captions.

      Adding Comments to Media Content

      Commenting allows users and instructors to interact within media, sharing comments and questions directly on the video timeline to foster discussion.

      Creating a Video Quiz

      Instructors can create video quizzes to assess user understanding by adding multiple-choice, short answer, or reflective pause questions directly into a video’s timeline.

      How To Make Your Online Courses More Effective with a Video Platform

      Provides pedagogical tips for instructors on using video effectively in their courses, such as recording course introductions, weekly announcements, and providing video-based feedback.

      Integrating Video Quizzes with Moodle for Gradebook Sync

      Essential steps for instructors to ensure that their embedded video quiz scores properly pass back to the Moodle Gradebook.

      Using the Media Chooser to Embed a Lecture Video

      Provides instructors with YuJa’s native documentation on using the Media Chooser, including how to upload a video from their desktop directly into Moodle.

      Uploading a Zoom Cloud Recording to YuJa

      If you have a video saved to the cloud in Zoom, you may want to add that video to YuJa in Moodle. This tutorial will walk you through the steps to manually add the video to your course using the external tool. 

      (more…)