August 22, 2026

Key Yuja Tutorials for Instructor Workflows

Creating a Recording with Software Capture for PC

Instructors can use the Software Capture desktop application to record their screen, webcam, and system audio. This is the recommended method for offline recording or when needing advanced capture settings.

Using the Browser Capture Studio

For users who cannot install software or prefer a lightweight option, Browser Capture allows creators to record videos directly from their web browser without any additional downloads.

    Using the Video Editor

    The Video Editor allows instructors to edit videos created with Software Capture or Browser Capture, as well as uploaded content. Features include trimming, chopping, and managing captions.

      Adding Comments to Media Content

      Commenting allows users and instructors to interact within media, sharing comments and questions directly on the video timeline to foster discussion.

      Creating a Video Quiz

      Instructors can create video quizzes to assess user understanding by adding multiple-choice, short answer, or reflective pause questions directly into a video’s timeline.

      How To Make Your Online Courses More Effective with a Video Platform

      Provides pedagogical tips for instructors on using video effectively in their courses, such as recording course introductions, weekly announcements, and providing video-based feedback.

      Integrating Video Quizzes with Moodle for Gradebook Sync

      Essential steps for instructors to ensure that their embedded video quiz scores properly pass back to the Moodle Gradebook.

      Using the Media Chooser to Embed a Lecture Video

      Provides instructors with YuJa’s native documentation on using the Media Chooser, including how to upload a video from their desktop directly into Moodle.
      Syncing Your Roster and Grading Team

      Once you have added a Crowdmark link to your Moodle course, your next step is to pull your student roster and teaching team into the Crowdmark environment. Crowdmark uses an active connection with Moodle to do this, but you must manually trigger the sync to ensure your lists are up to date—especially during the add/drop period.

      Here is how to launch Crowdmark for the first time and sync your users.

      1. The Initial Launch

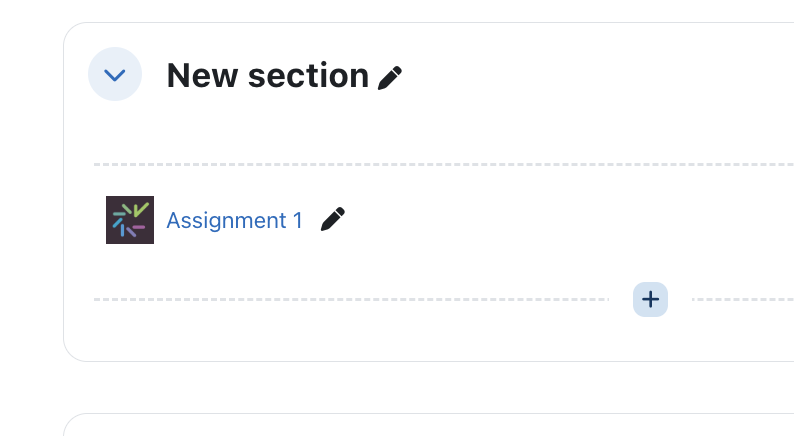
      To begin, you must access Crowdmark through the link you just created in Moodle.

      1. Navigate to your Moodle course page.
      2. Click on the Crowdmark assessment link you previously added.
      3. Because this is your first time launching the tool for this course, Crowdmark will automatically generate the course shell on their end and may prompt you immediately to sync your roster.

      2. Syncing Your Student Roster

      It is highly recommended that you re-sync your roster right before an exam or assignment to capture any last-minute Moodle enrollment changes.

      1. Navigate to the Course Students panel inside the Crowdmark interface.

      Once you are in your Crowdmark course, look at the left-hand sidebar menu and click on Students.

      2. Trigger the LMS sync:

      In the upper right corner of the screen, click the Sync with Moodle button.

      3. Confirm the update:

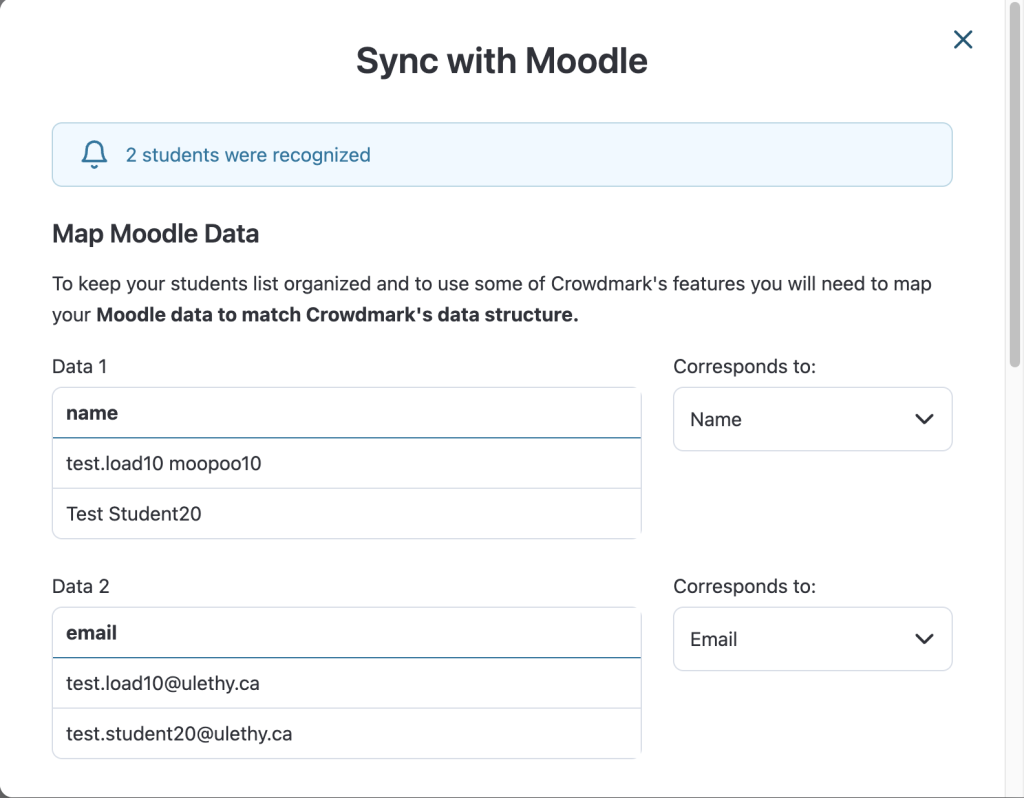
      A window will pop up showing the number of students found in your Moodle course. It will list any students who are being added or disenrolled. Click Update students to confirm the sync.

      Key insight

      Crowdmark pulls the student’s Name and Email address from Moodle. If you need to organize grading by specific lab sections, you can upload a CSV file with section headers directly into the Students tab. Importing a CSV will not break your Moodle connection as long as the student email addresses match.

      3. Importing Your Grading Team

      If you have TAs, Lab Coordinators, or Co-Instructors enrolled in your Moodle course, you need to sync them into Crowdmark separately and assign them the correct grading permissions.

      Students that will act as Graders should be added as Advanced Teaching Assistant within Moodle before they can sync with the Crowdmark Team Panel

      1. Navigate to the Team panel:

      In the left-hand sidebar menu of Crowdmark, click on Team.

      2. Trigger the LMS sync:

      REMEMBER
      Before triggering the LMS you must add your team members in your Moodle roster first before they can be synced to Crowdmark from Moodle as team members.

      Click the Sync with LMS button in the upper right corner. A modal window will appear listing the teaching staff pulled from your Moodle roster.

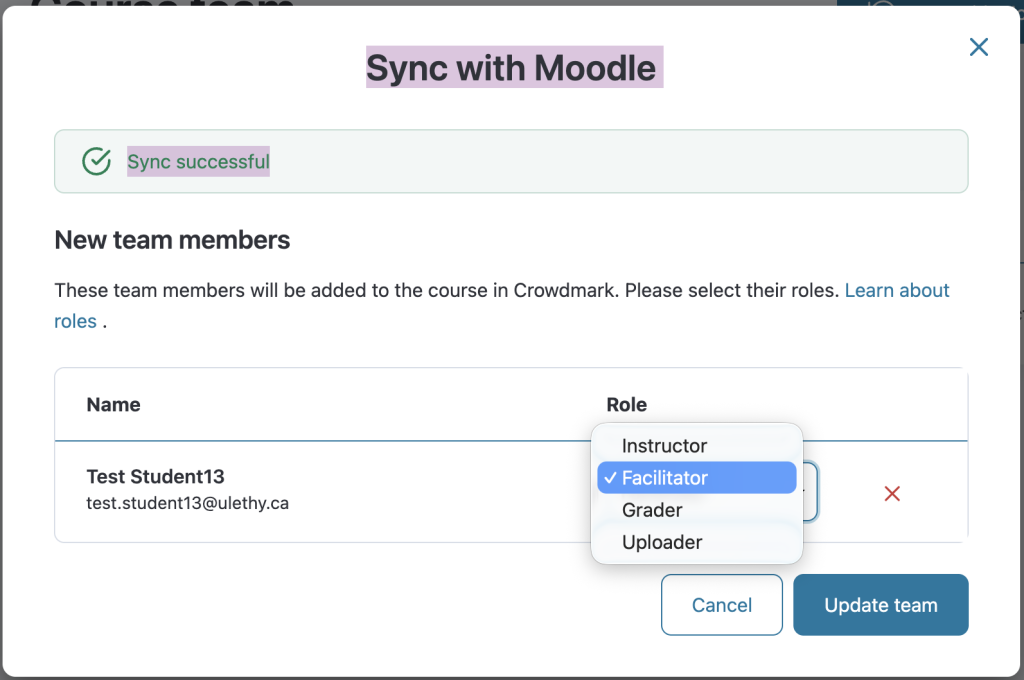
      3. Assign roles: Critical step for grading permissions.

      Under the Role column next to each person’s name, use the drop-down menu to select their permission level. (See the role breakdown below). If you do not want to import a specific person, click the x next to their name.

      4. Finalize the team:

      Click the Add team members button. Crowdmark will automatically email them an invitation link to access the course.

      Understanding Team Roles

      When assigning roles during the sync, choose the level of access that matches their responsibilities:

      • Facilitator: Has full administrative control. They can edit the assessment, sync rosters, manage the team, and override grades. Best for Co-Instructors.
      • Grader: Can view student submissions, leave feedback, and enter scores, but cannot alter the assessment setup or manage other team members. Best for TAs.

      **Uploader: Can only upload scanned PDF booklets to an Administered assessment. They cannot see grades or evaluate student work. Best for administrative support staff or external print shops.

      NOTE: If you cannot see your team members in Crowdmark, you will have to make sure the team members are added as advanced teaching assistants, instructors, or non editing teacher in Moodle first, then try to add them to the roster in Crowdmark.

      Adding Team member (graders etc) in Crowdmark

      Your course may have TA’s or markers that help facilitate your assessments. Crowdmark allows you to add a team of members into Crowdmark to help you with marking. The following instructions will provide you with the best ways of adding team members such as TA’s to your Crowdmark assessments.

      (more…)

      Zoom Learning Center

      On-demand courses and live training sessions designed just for educators are now LIVE in the Zoom Learning Center (ZLC)! These materials cover everything educators need to know to set up their classrooms and establish routines for success.You can select from courses and sessions that cover:
      • Getting Started with Zoom for Education
      • Setting Up Your Classroom on Zoom
      • Engaging Your Students on Zoom
      • Zoom In: Breakout Rooms
        And more!

      START LEARNING!