instructor-tutorials

Adding a Crowdmark Activity in Moodle

1. Go to the topic you wish to add the activity to.
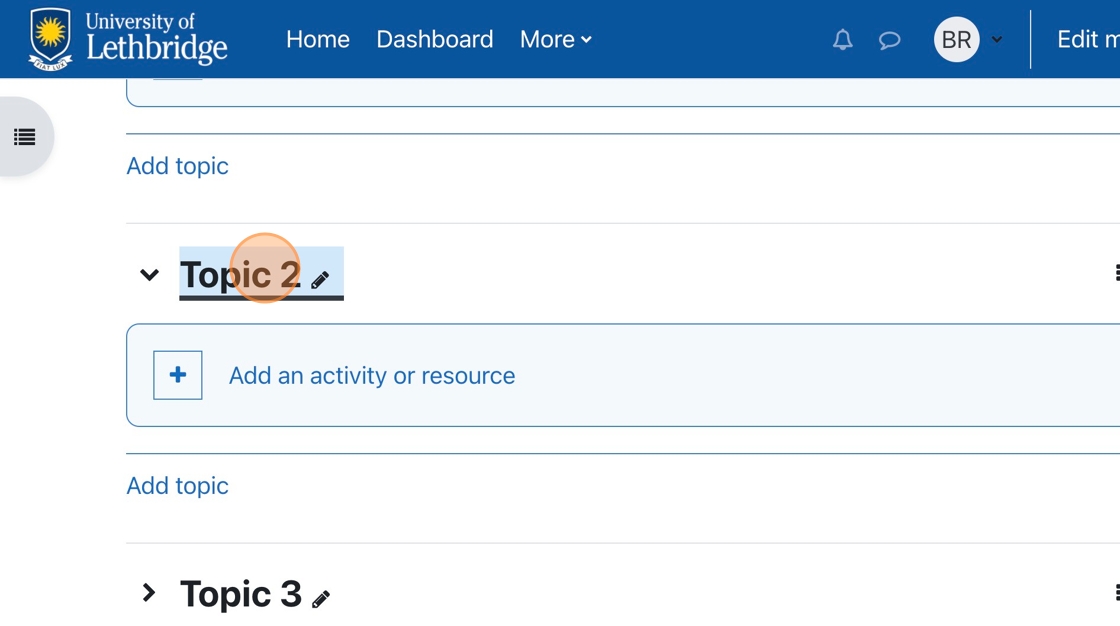
2. Click “Add an activity or resource.”
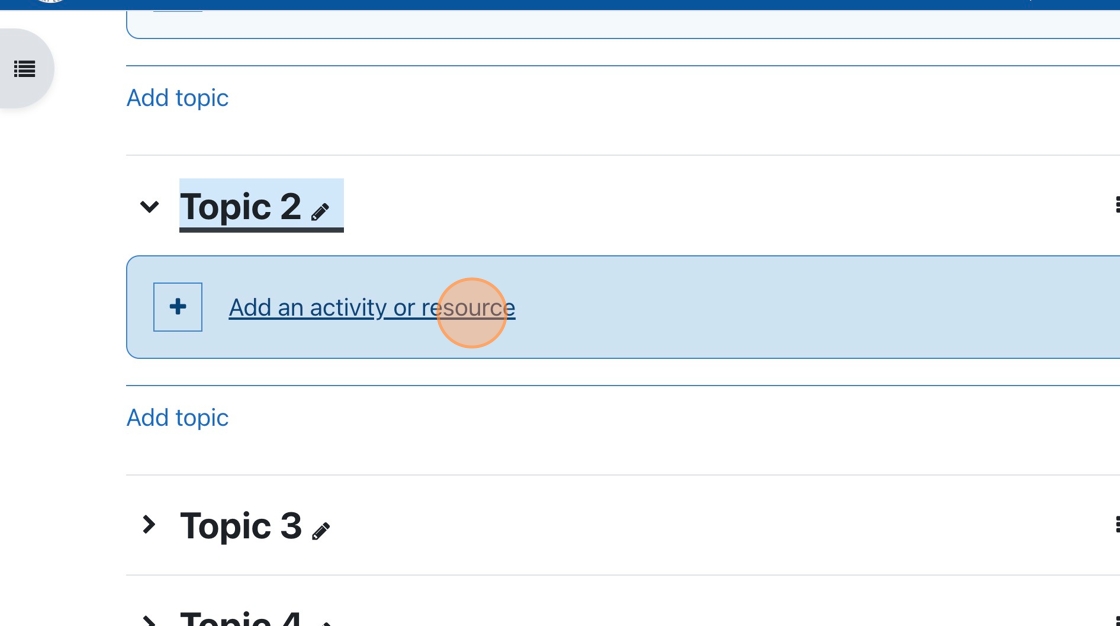
3. Choose External Tool from the menu of choices.
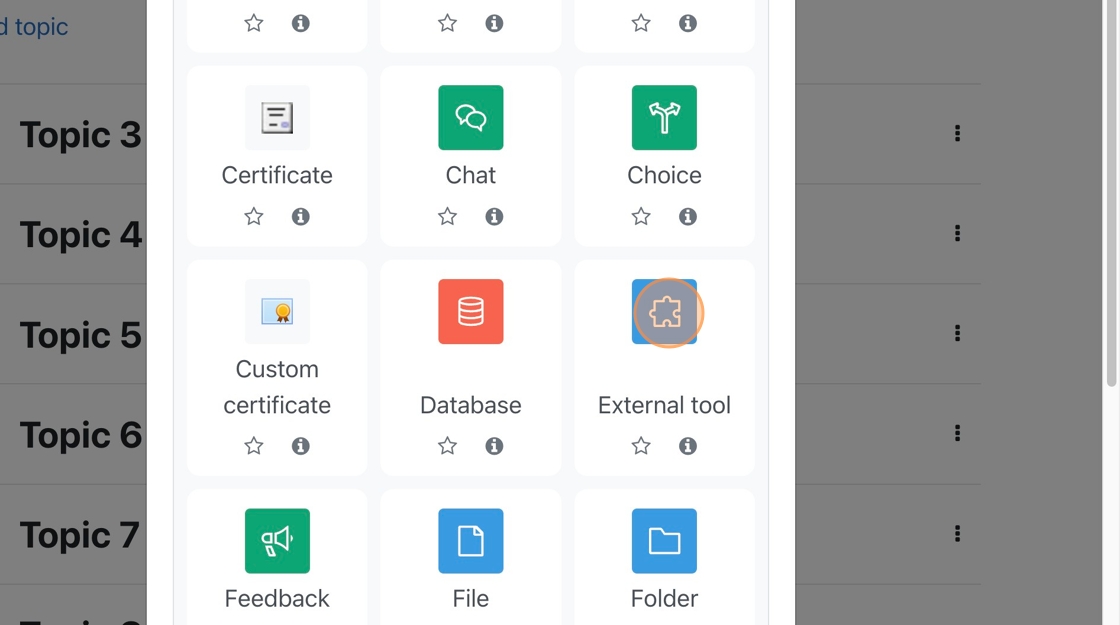
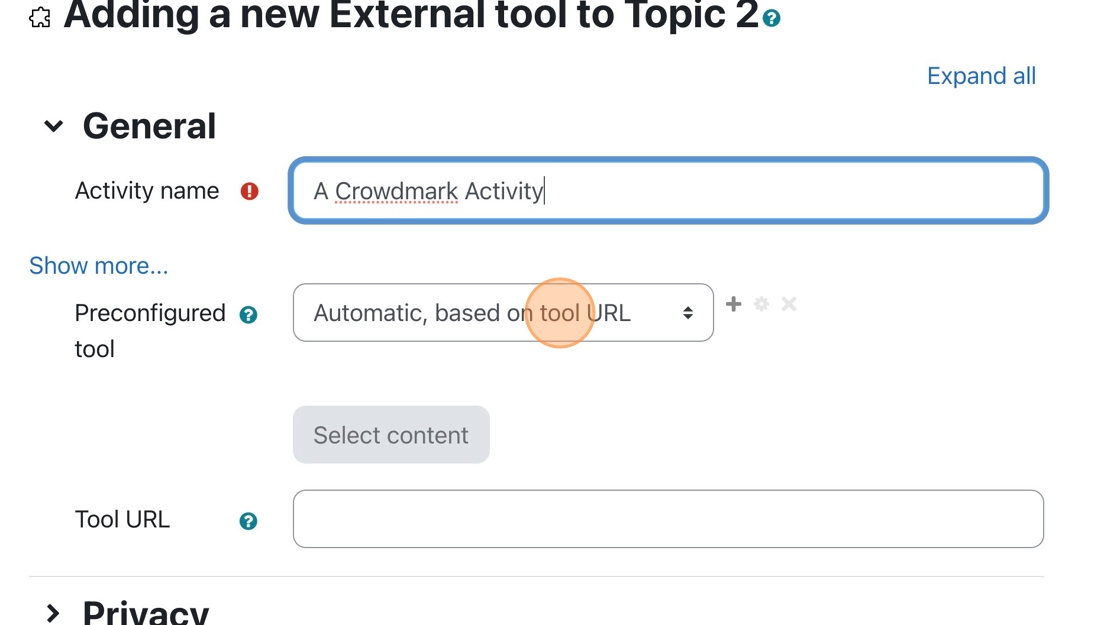
4. Click the “Activity name” field, and enter a name for the activity.
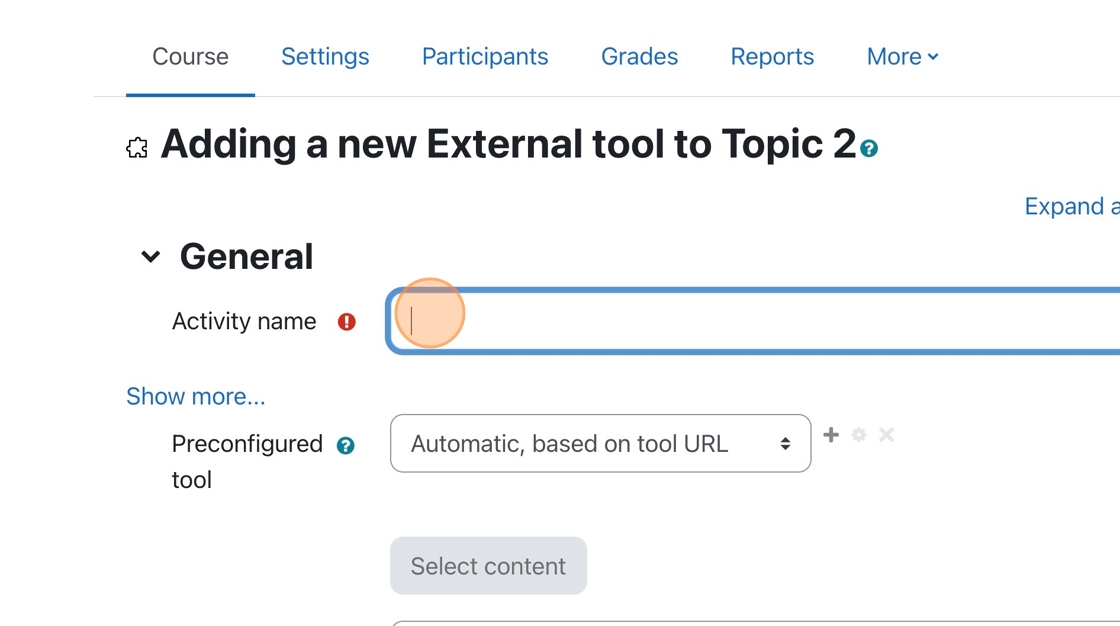
5. Click the Preconfigured tool dropdown menu.
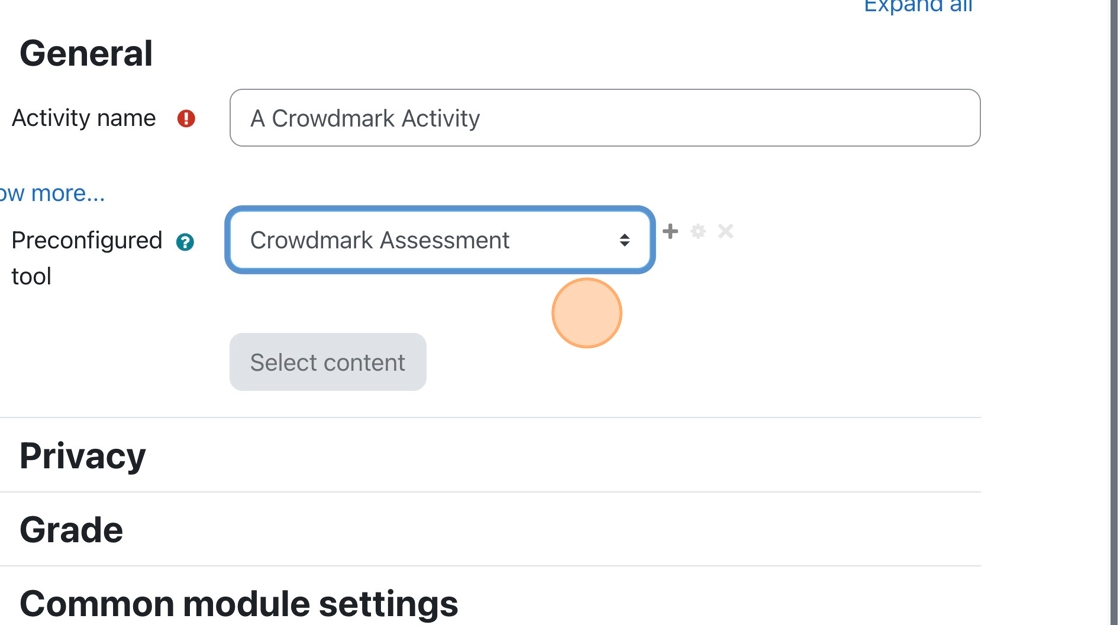
6. Choose Crowdmark Assessment from the menu.
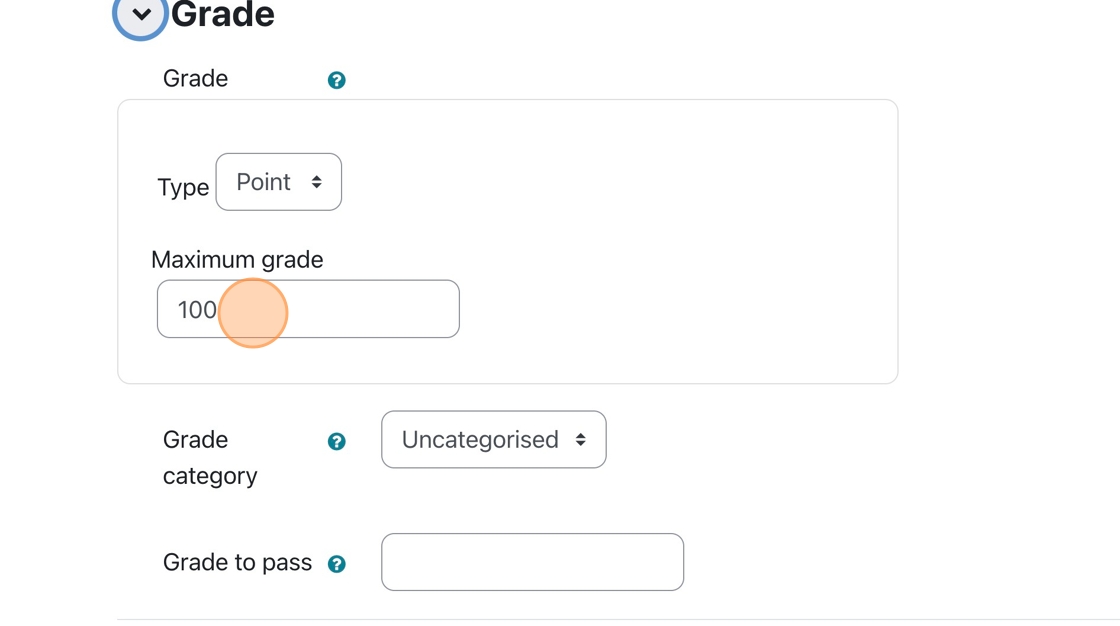
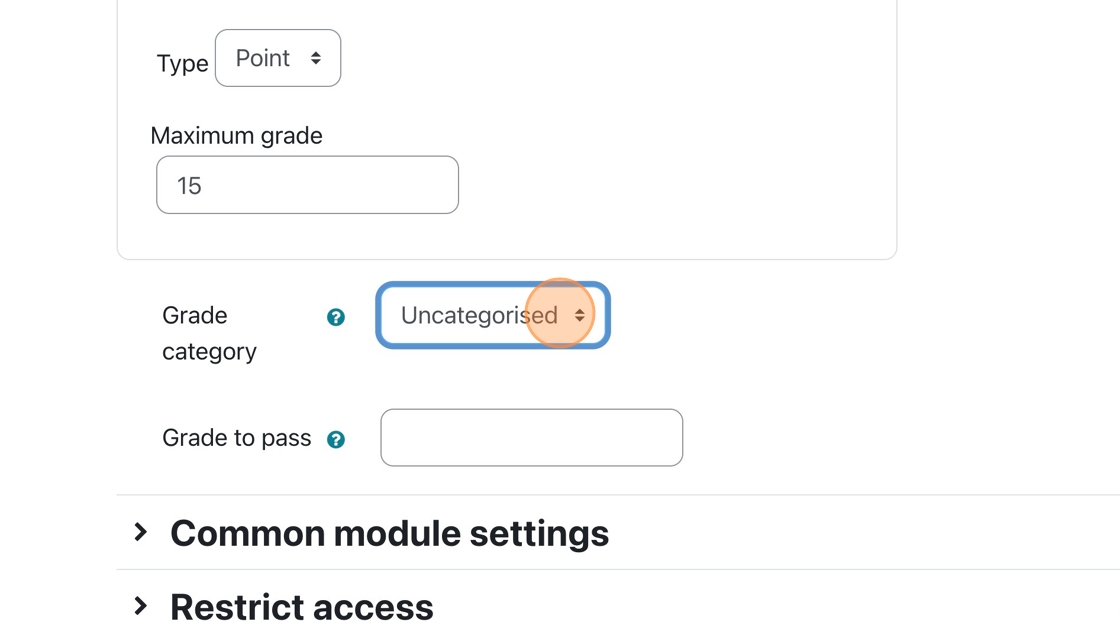
7. Click “Grade,” then modify the Maximum Grade so it is equivalent to the grade that will come from Crowdmark.
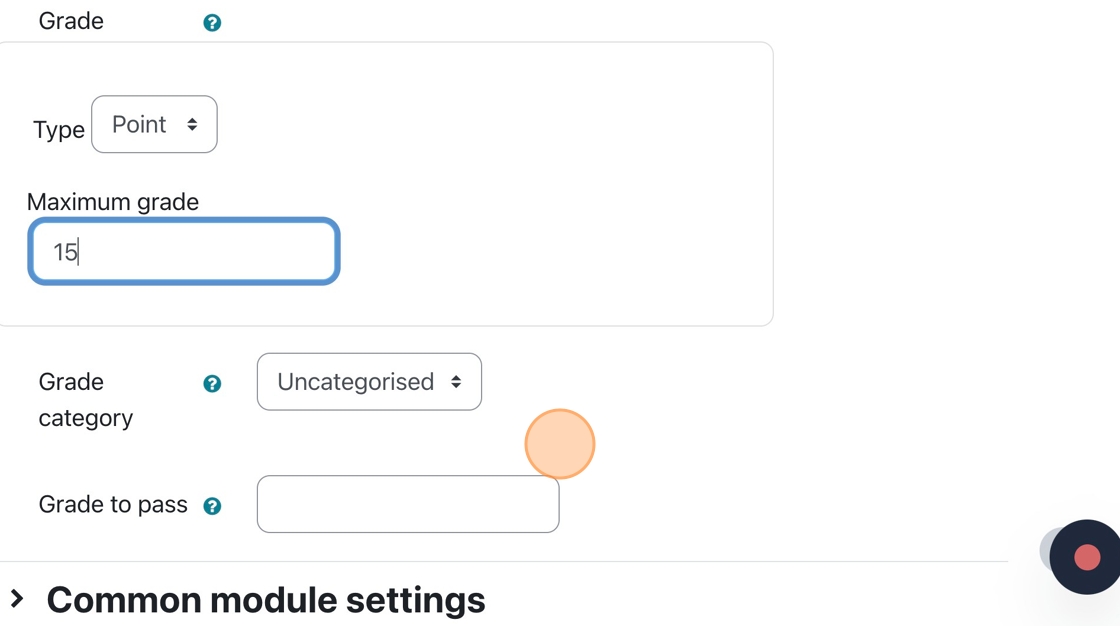
8. If you grade a Crowdmark assessment out of 15 but forget to change the maximum grade to 15 in Moodle, you must do so before syncing all the grades to Moodle. You may run into errors when syncing your grades if you do not.
9. If you have different categories in Moodle’s grade area, you can choose the category to which the assessment belongs.
10. You are all finished the Moodle portion of the Crowdmark assessment setup
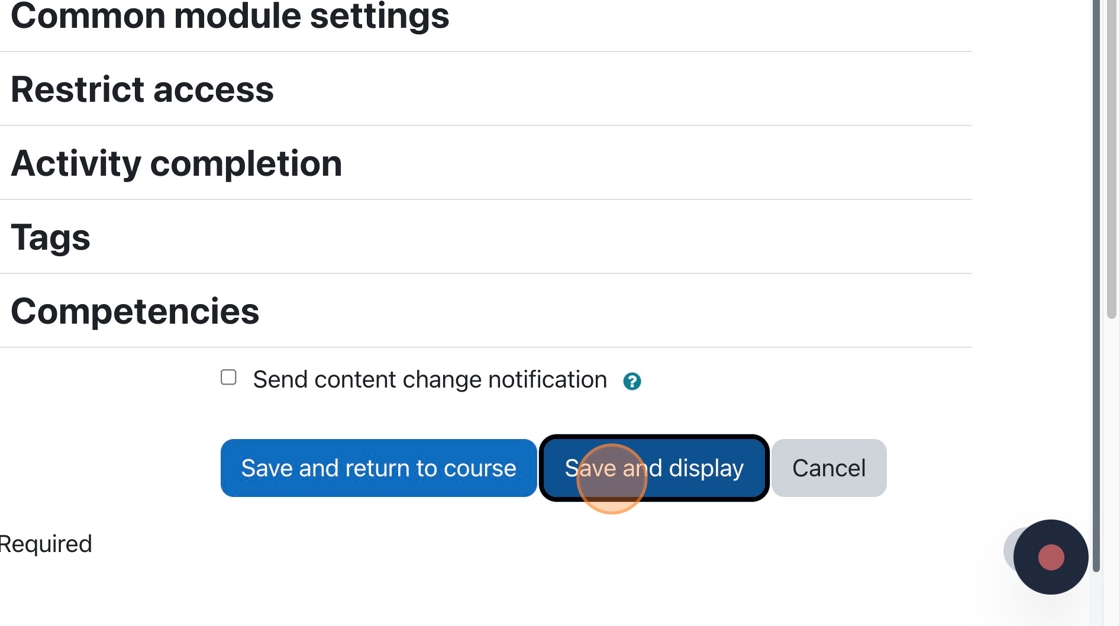
Tip: This tutorial set up the connection between Crowdmark and Moodle. You will still need to add questions to the assessment. This can be done when you click the Crowdmark assessment on the main course page.

A new Crowdmark window opens up. You can add questions and set the distribution factors in that window.

Creating a Rubric for an assignment

1. If you have already set the assignment settings, then click “Advanced grading.”

2. Select the “rubric” option from the “Change active grading method to” drop-down menu.

3. You will see a few buttons appear AFTER you select the rubric option.

Click “Define new grading form from scratch.

4. Enter a name for your rubric.

If you have multiple rubrics, add a rubric description so it is easy to find. This will help you differentiate between rubrics.

5. Now, we need to create the functionality of the rubric.

Scroll down to the Rubric area. Click “Add levels” (details that define what the points are worth) and “Add criterion” (Thematic criteria or areas you will focus on when grading) to build the structure of your rubric.

6. Click on a level to edit it. To change it, type or paste the text into the “level” field.

If you need more than three levels, select “Add level” from the top right of the screen.

You can also delete levels by clicking the grey “x” near the point values.

7. You can set the order of your levels to descending or ascending and choose some display options for the rubric.**

8. Be sure to save the settings before moving on.

How to Grade Papers with annotated PDF feature.

1. Click on the assignment you wish to grade in your course.

2. Click “View all submissions”

3. You will have to scroll to the right in the grading area

4. Choose a student submission and click “Grade”

5. Click this button to add a comment. The colour swatch beside it can be changed to a different one to differentiate between comments.

6. Click and drag to make your comment box. Once created, type your comment inside.

7. You can use the other tools to create comments or marks on the PDF.

The document has four pages that you can switch through. Use the arrows to navigate through the pages. Be sure to grade all the pages of the submission.

8. Once done with comments, give a grade to the student.

9. You can also provide some written feedback outside of the submitted document. Students will see the comments in their grading area.

10. Click “Save and show next” to go to the next ungraded submission.

Configure Assignment to only accept PDFs for Annotated Feedback

1. If you have an assignment for which you want to accept PDF submissions, click “Settings.”

2. Make sure “File submissions” is selected as a submission type.

Then, choose the limits for the files that can be uploaded.

In this case, we will accept a maximum of 2 files that can’t be larger than 500 kb. You can choose higher settings if you think the documents they upload will be larger.

3. Next, we want to limit the types of files that can be uploaded. In this case, we only want to allow PDFs so we can use the “Annotated PDF” marking feature.

Click the “Choose” button beside the accepted file types field.

4. Expand the Document files choices. You will see the specific choices for the document files.

5. Toggle on “PDF document” and toggle off
“Document files.”
This will limit submissions to PDF only.

Be sure to “Save changes.

6. Next, we move on to “Feedback types” and choose “Feedback comments” and “Annotate PDF.”

This way, a PDF can be annotated with marks that can be highlighted, etc., and you can also type in any additional comments.

We won’t need inline comments turned on, as the text in PDFs cannot be pulled into the feedback field like it can with Word documents.

7. Be sure to set the other submission settings to your specifications.

8. Once all the settings are set, click “Save and display.

Made with Scribe