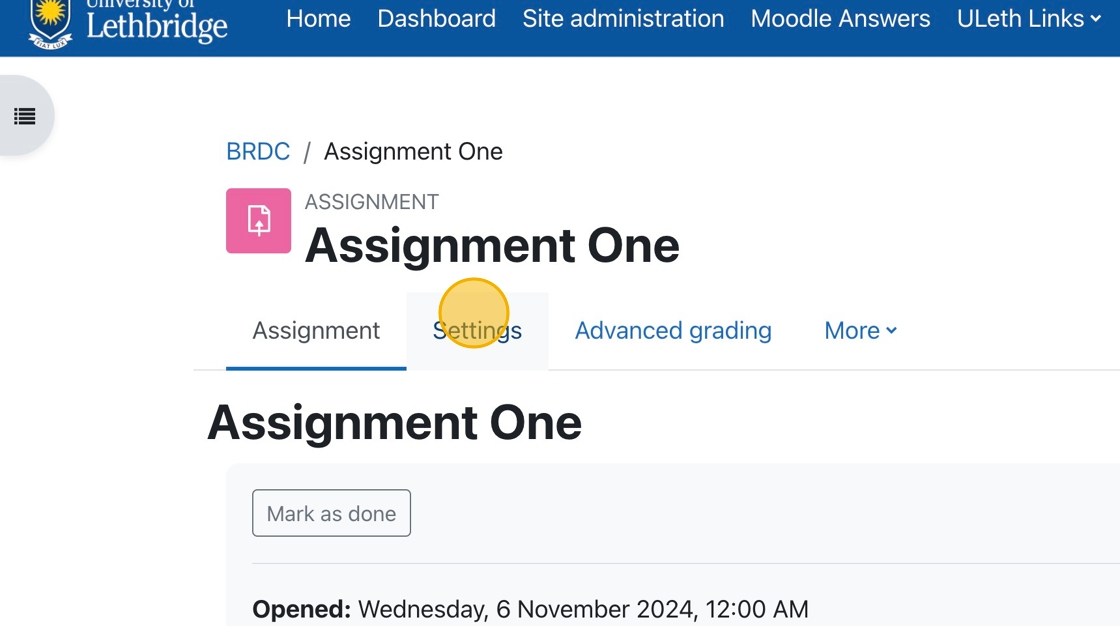
1. In the assignment, you wish to allow inline commenting. Click on the Settings tab.

1. If the assignment is graded and feedback is released, students can click on the assignment link to see their grades and any feedback given to them.
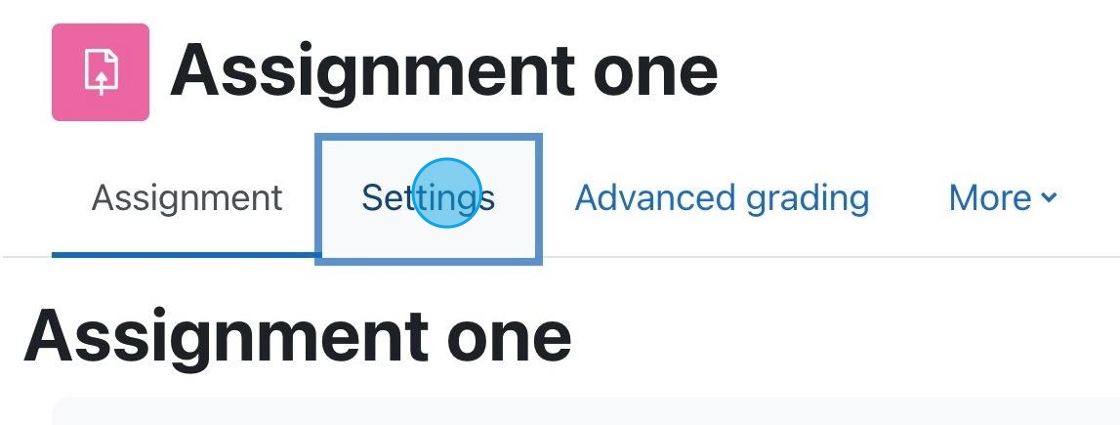
1. If you have an assignment for which you want to accept PDF submissions, click “Settings.”


How To Grade Assignments and Provide Feedback with inLine Comments
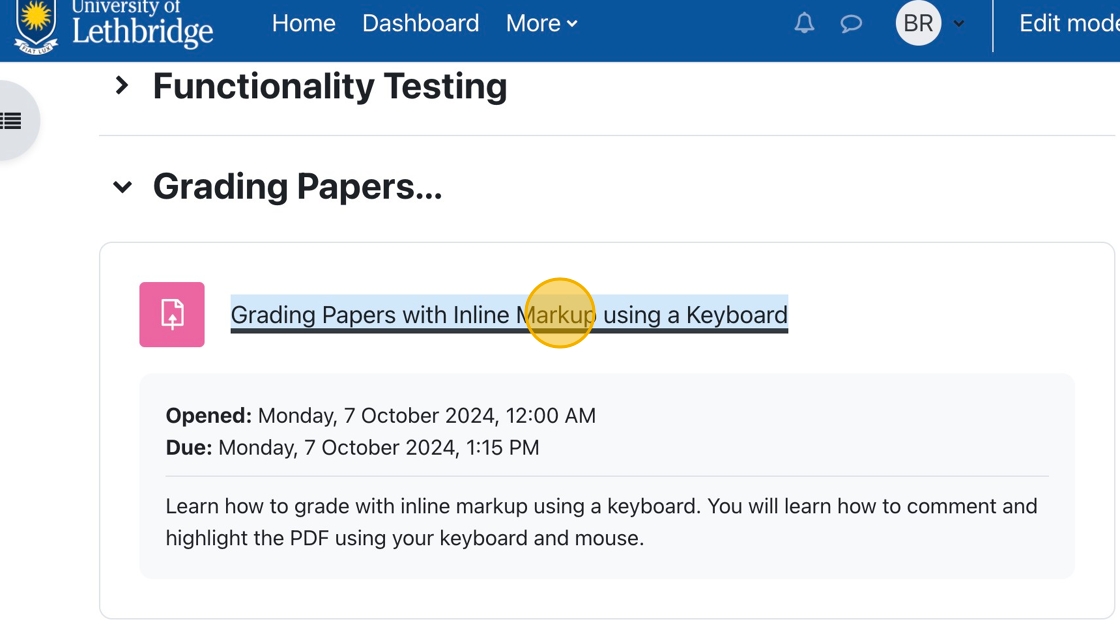
1. In your course, click on the assignment for which grading is required.
2. You can click “View all submissions ” to choose a specific student to grade.