1. Now that the rubric is all setup, we can start grading the submissions.
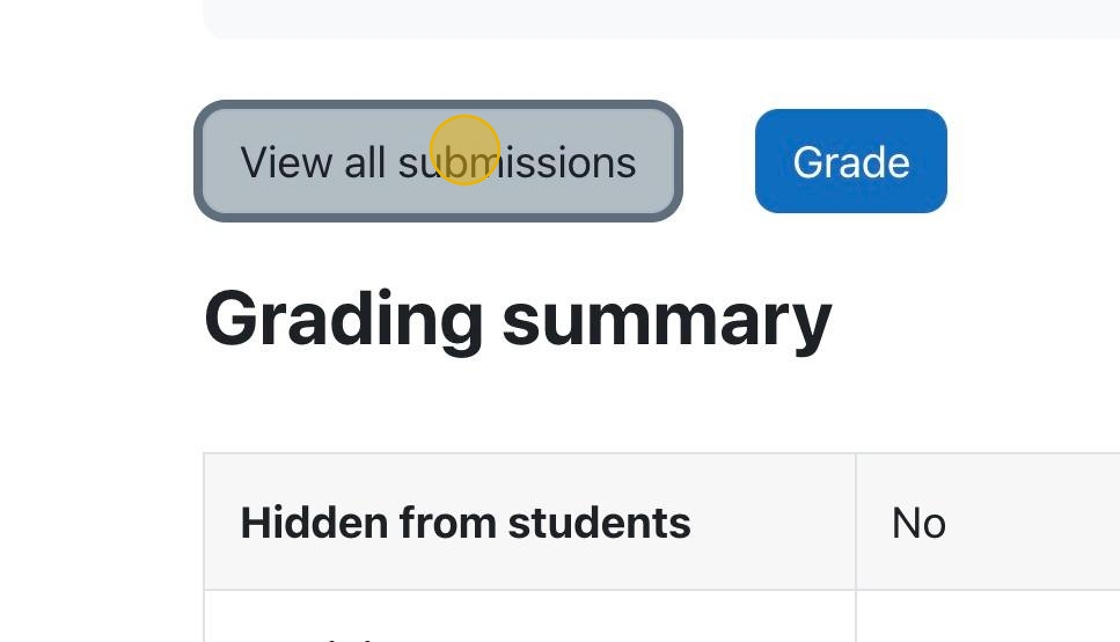
Click “View all submissions” to see all the submissions so you can select specific submissions to grade.

1. Now that the rubric is all setup, we can start grading the submissions.
Click “View all submissions” to see all the submissions so you can select specific submissions to grade.

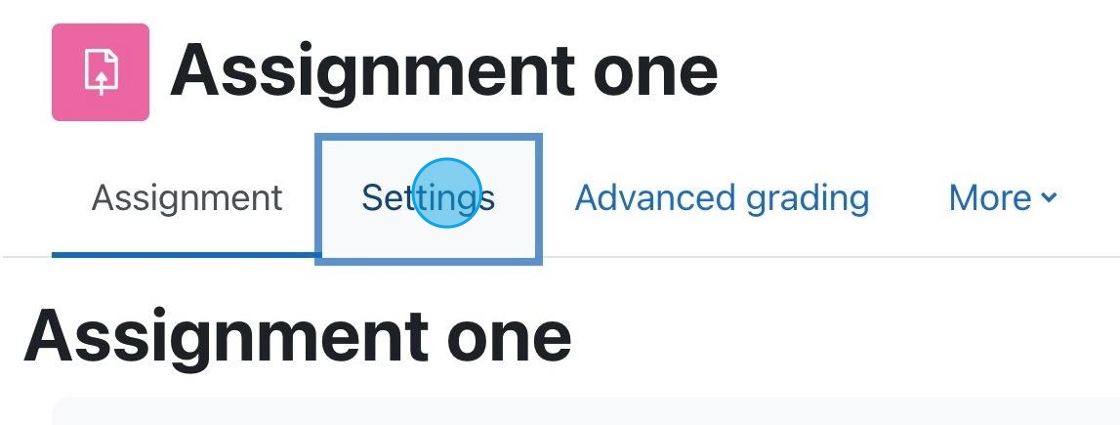
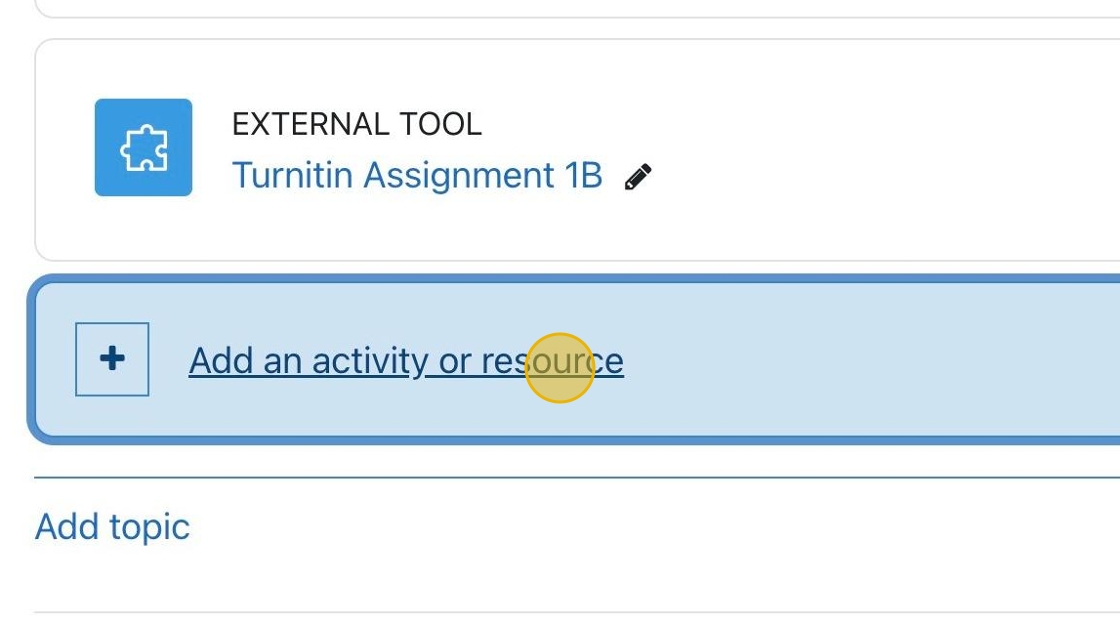
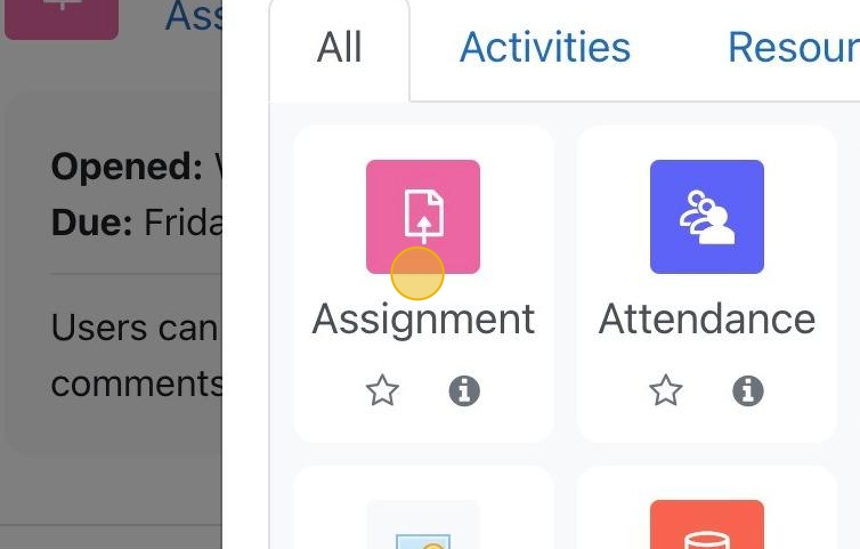
1. Click on an assignment to be taken to the assignment page. Alternatively, you can add a new activity or resource and choose “Assignment.”
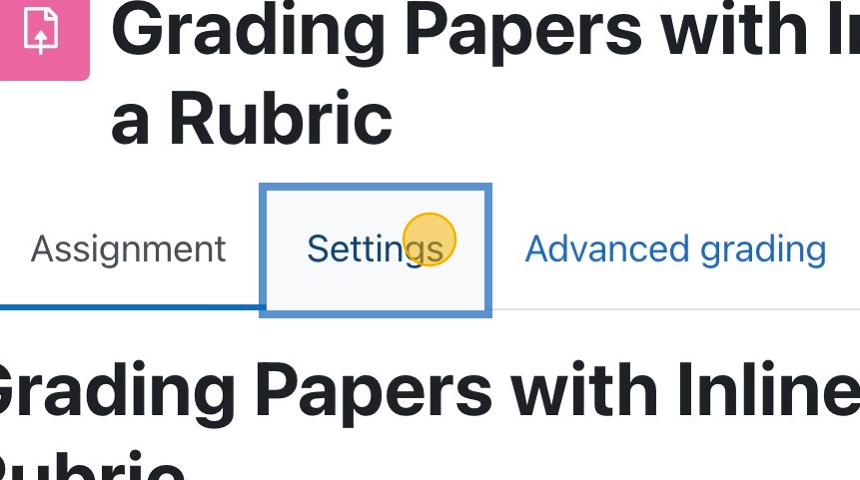
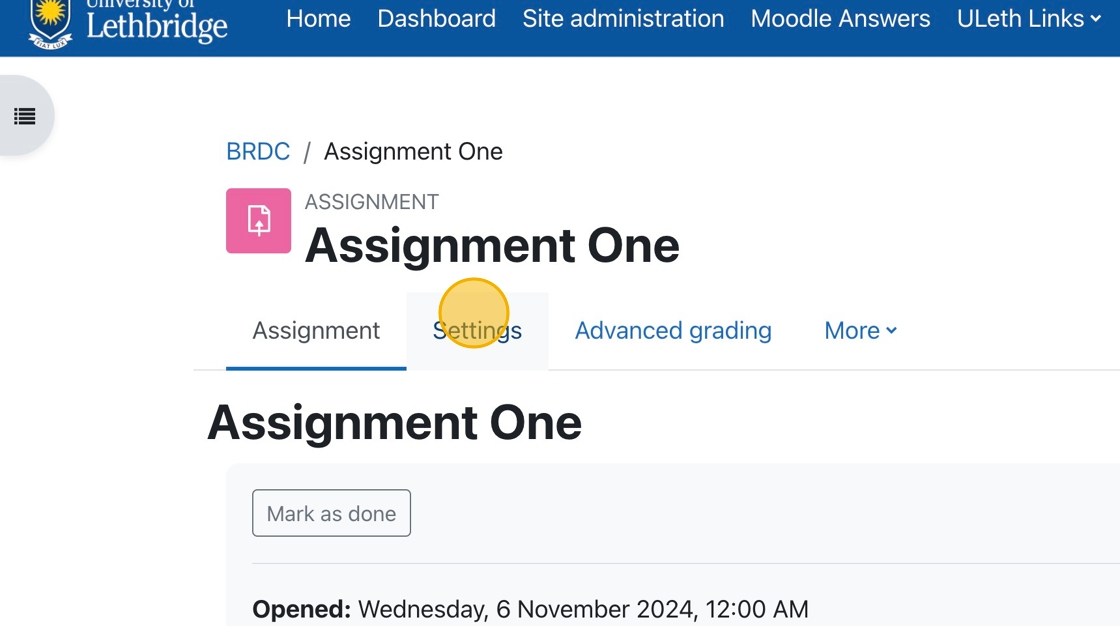
2. Click “Settings” to see ALL the assignment settings.
1. If you have an assignment for which you want to accept PDF submissions, click “Settings.”

The following tutorials will teach you how to set up and assessment using Crowdmark.


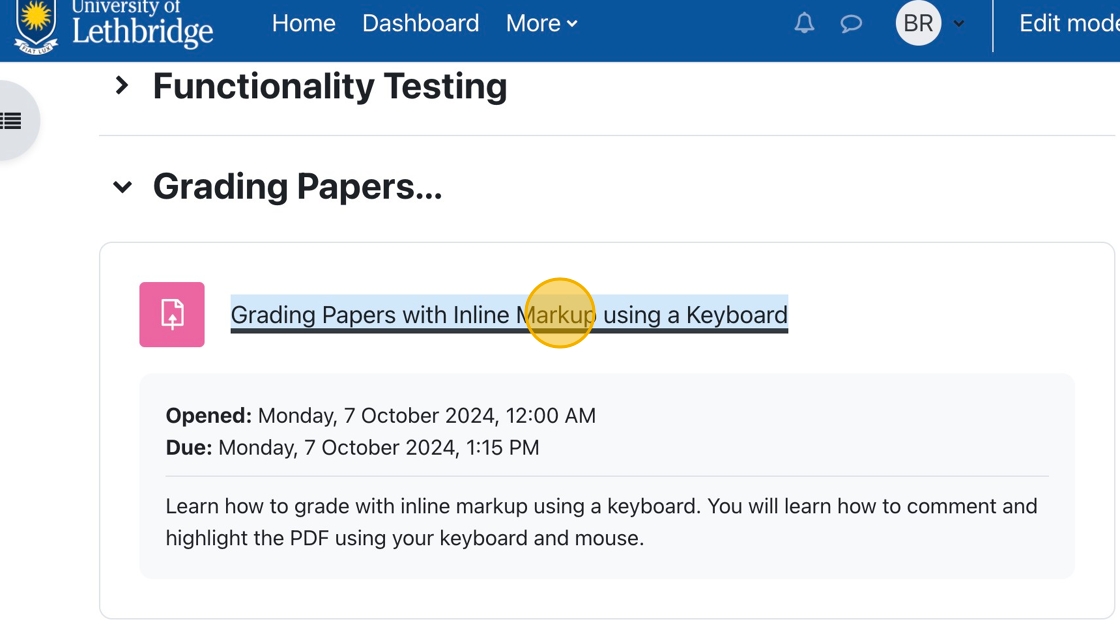
How To Grade Assignments and Provide Feedback with inLine Comments
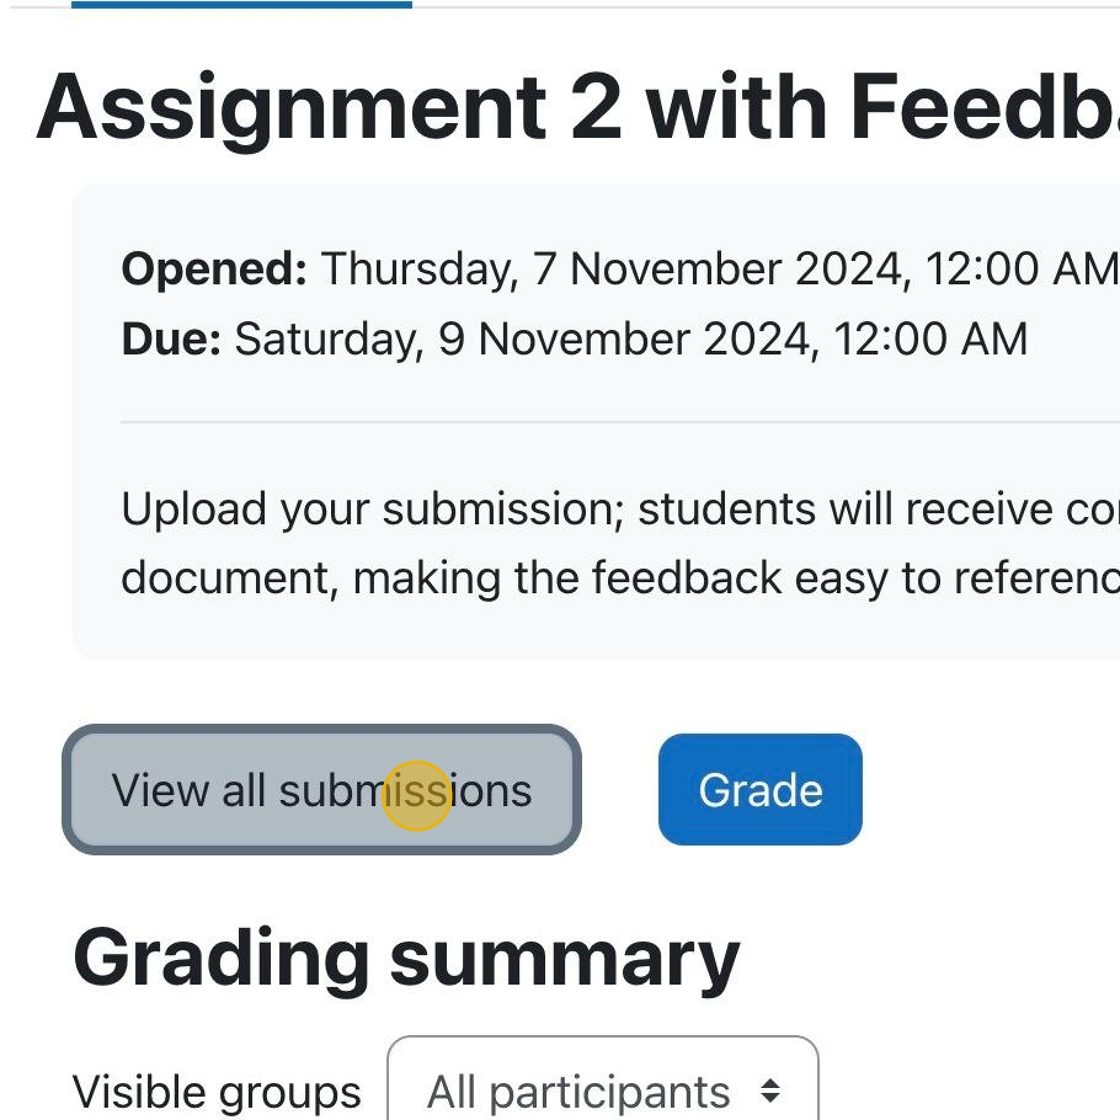
1. In your course, click on the assignment for which grading is required.
2. You can click “View all submissions ” to choose a specific student to grade.