1. Crowdmark allows you to choose extra settings for your multiple-choice questions. Click “Settings.”
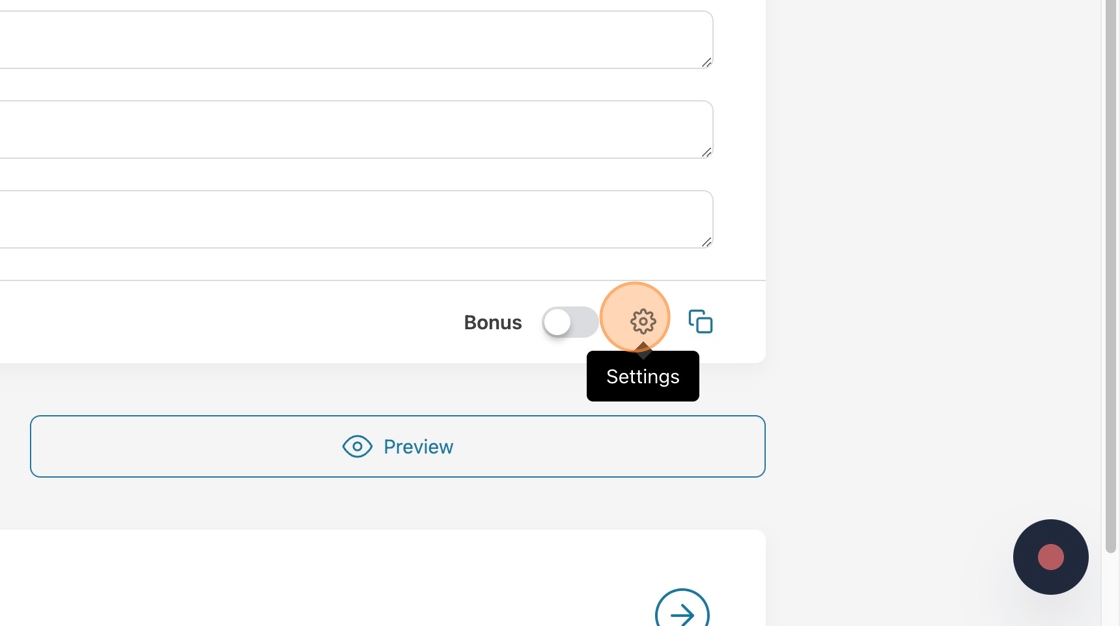
1. Crowdmark allows you to choose extra settings for your multiple-choice questions. Click “Settings.”
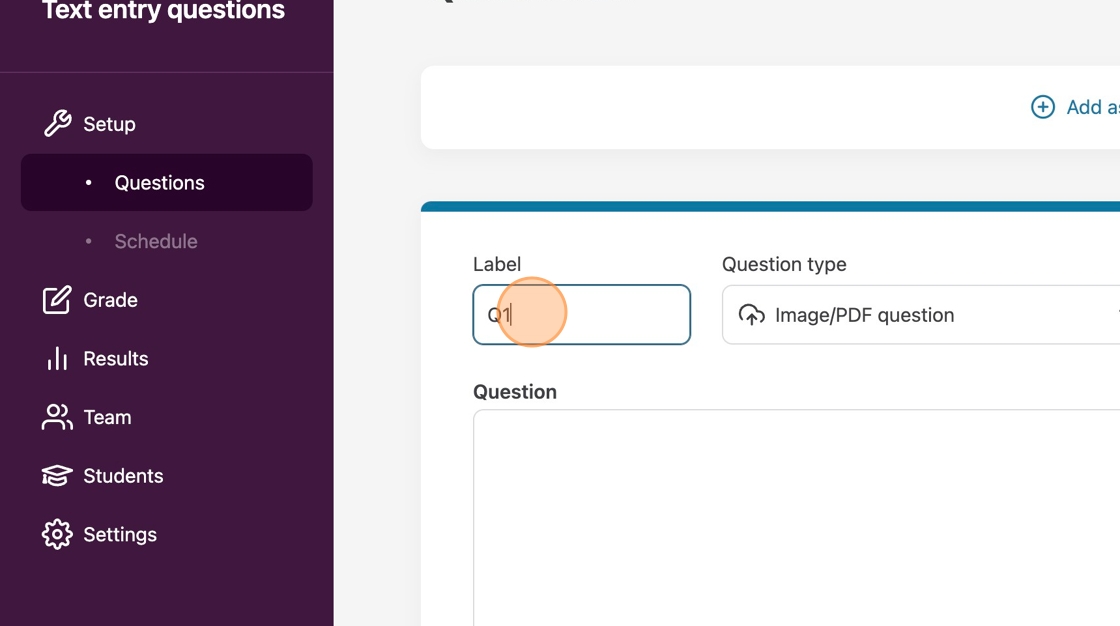
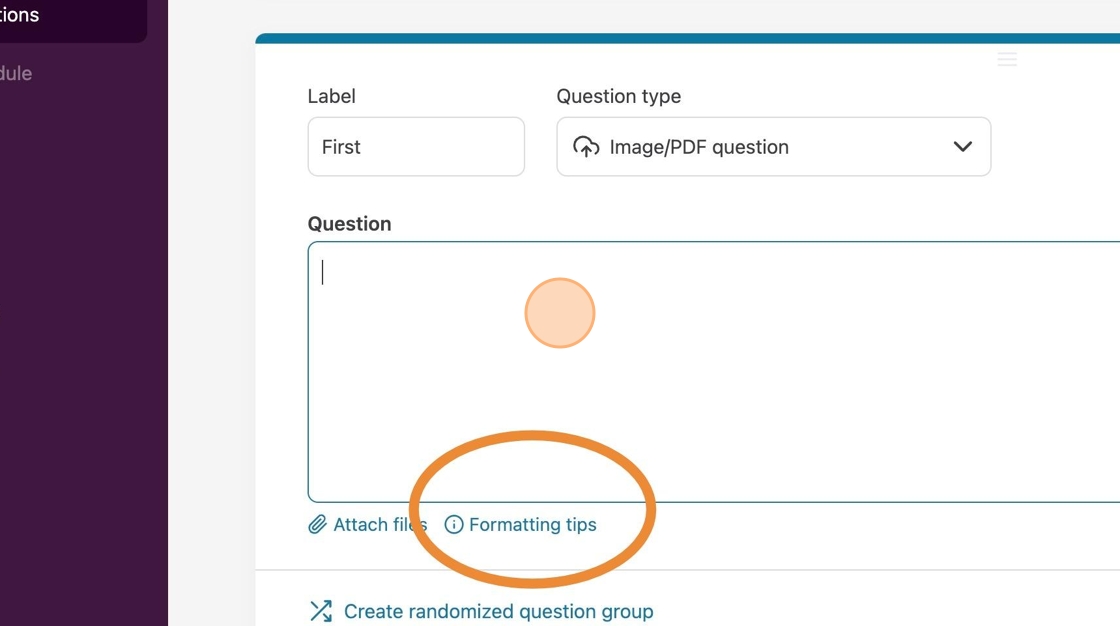
1. Click “add a question” and enter a label for the question if you wish for something different than the default.
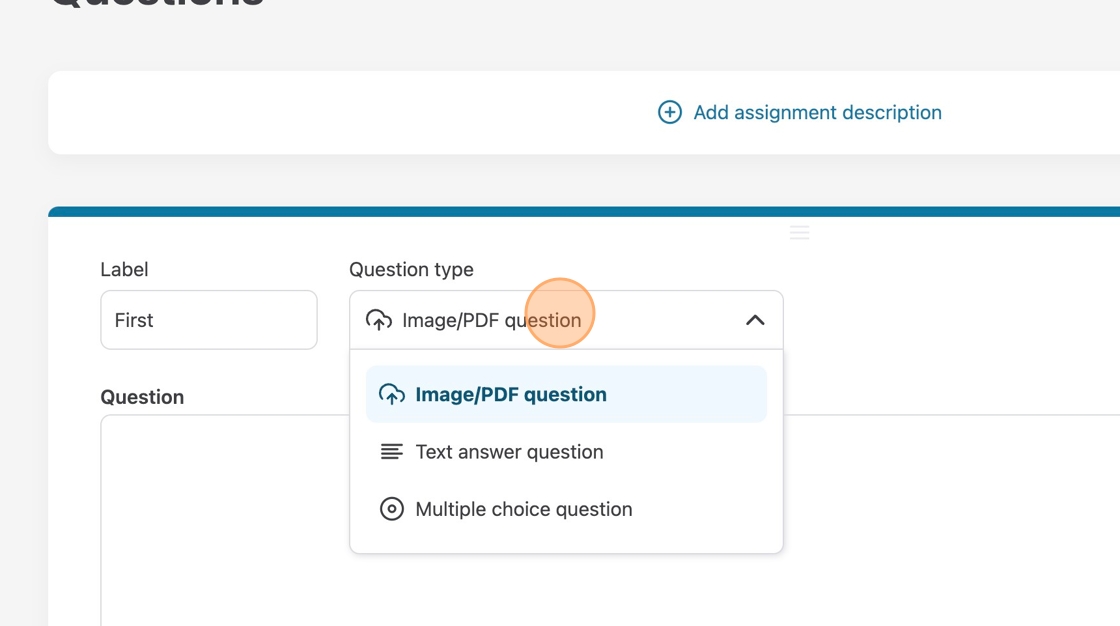
2. Choose “Image/PDF question” from the question type drop-down menu.
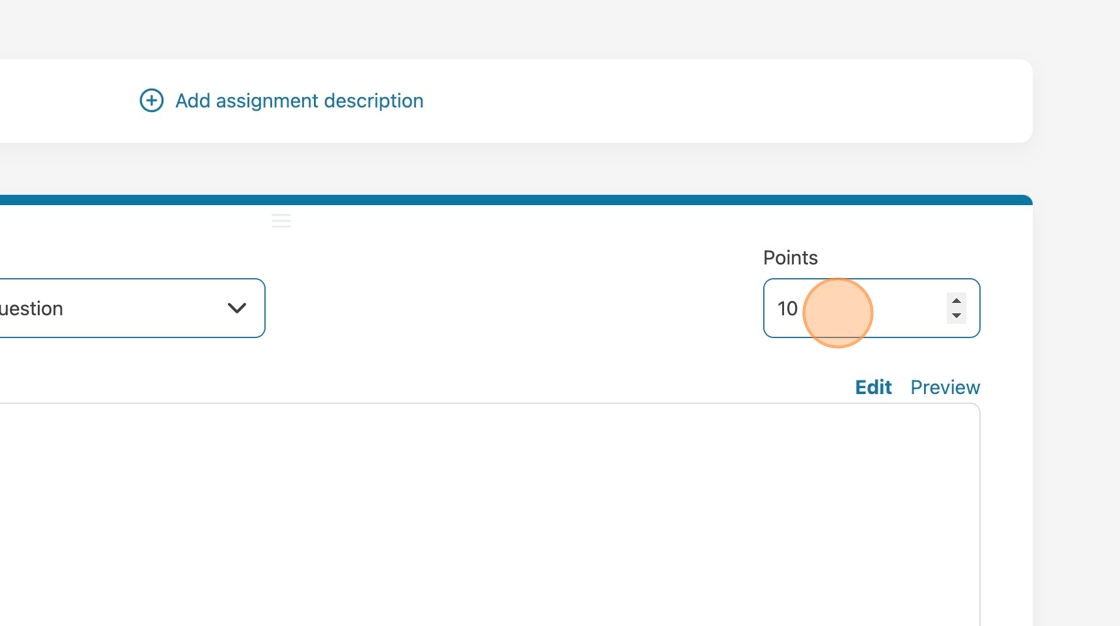
3. Choose how many points your question will be worth.
4. Click in the question field and enter your question or prompt. You can attach files, link websites, and use other formatting options. Click on the formatting tips below the Question field.
1. Go to the topic you wish to add the activity to.
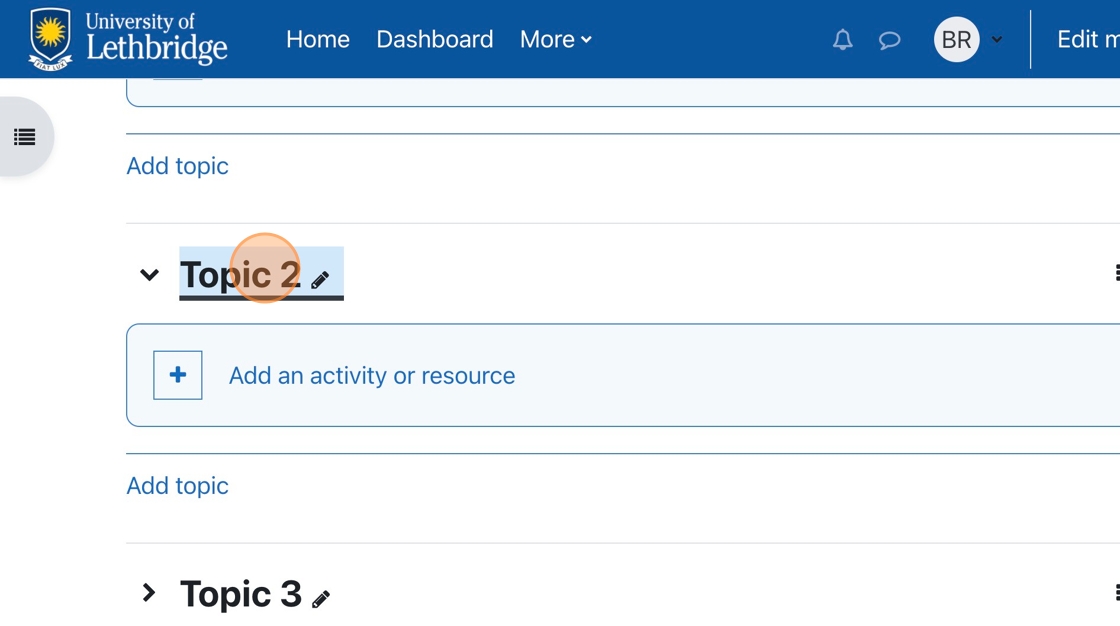
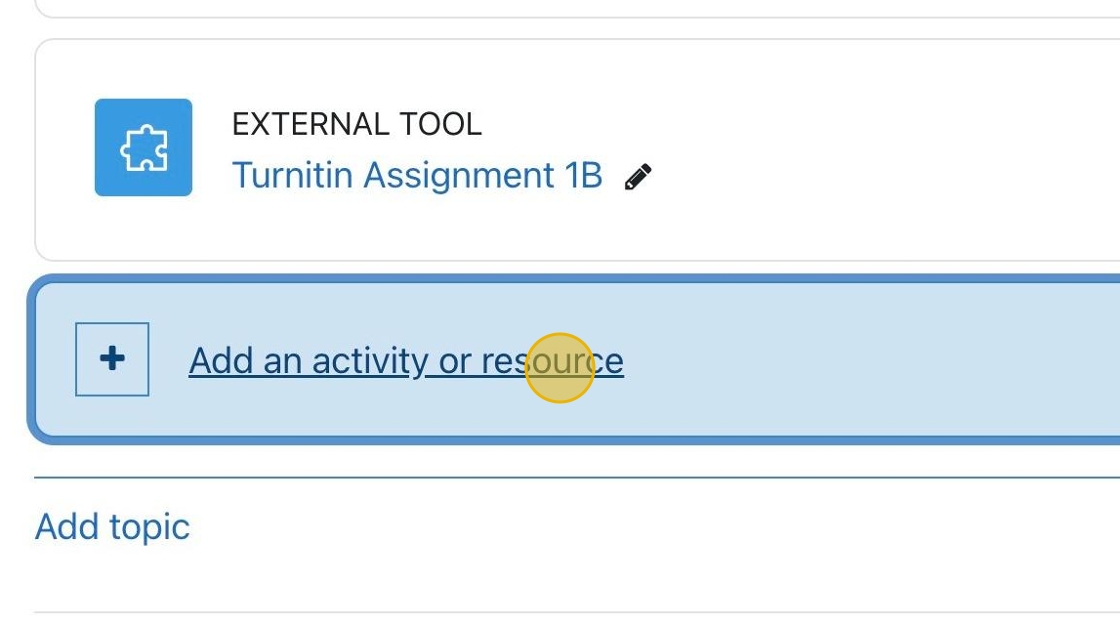
2. Click “Add an activity or resource.”

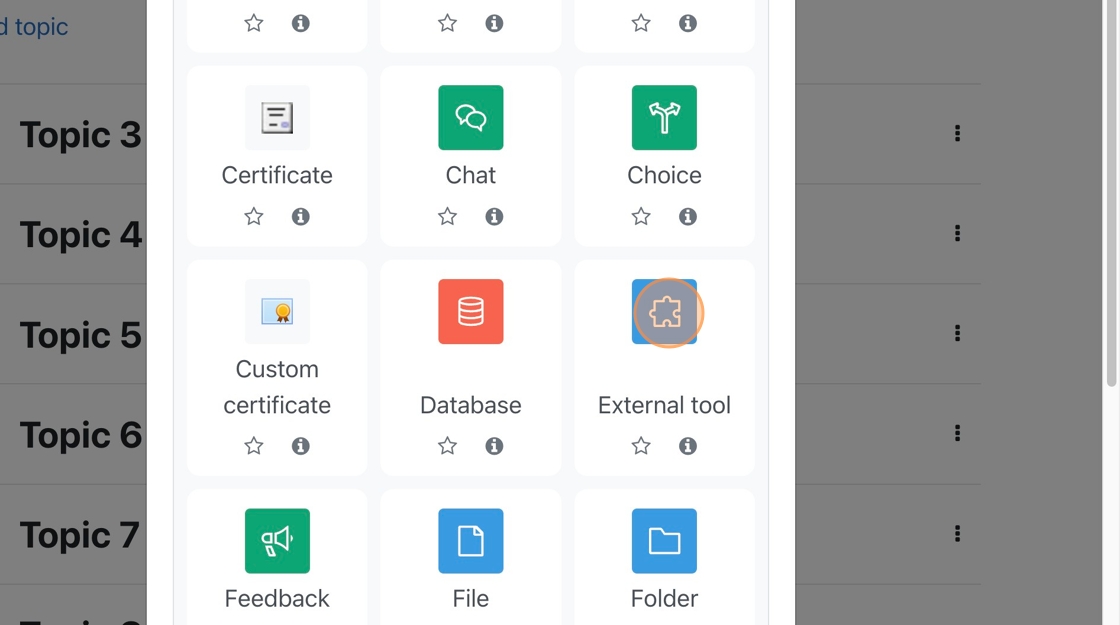
3. Choose External Tool from the menu of choices.
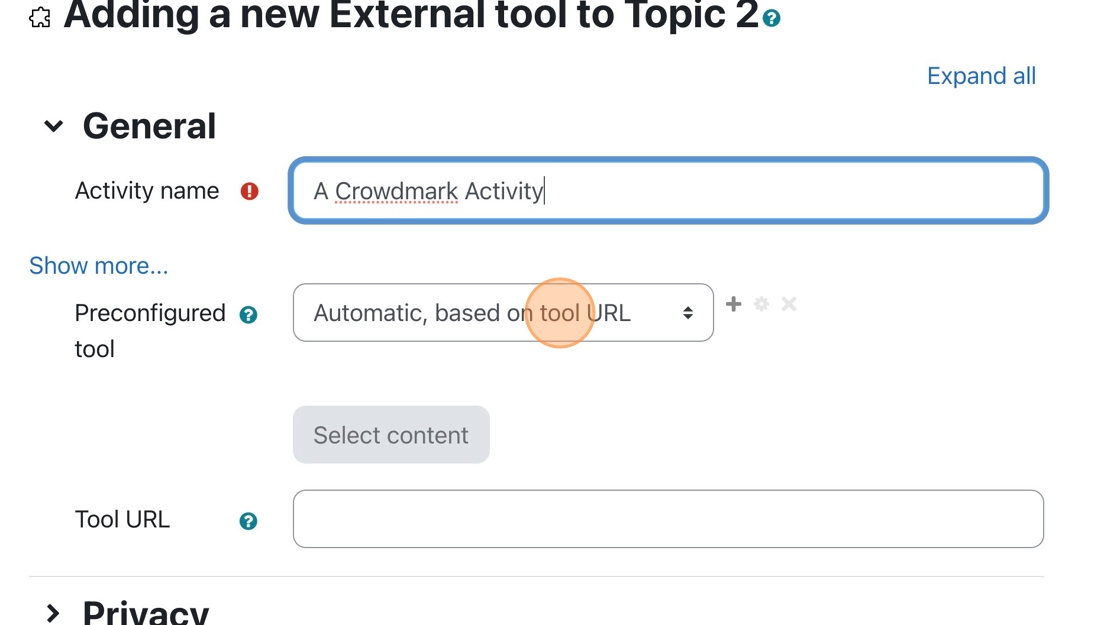
4. Click the “Activity name” field, and enter a name for the activity.
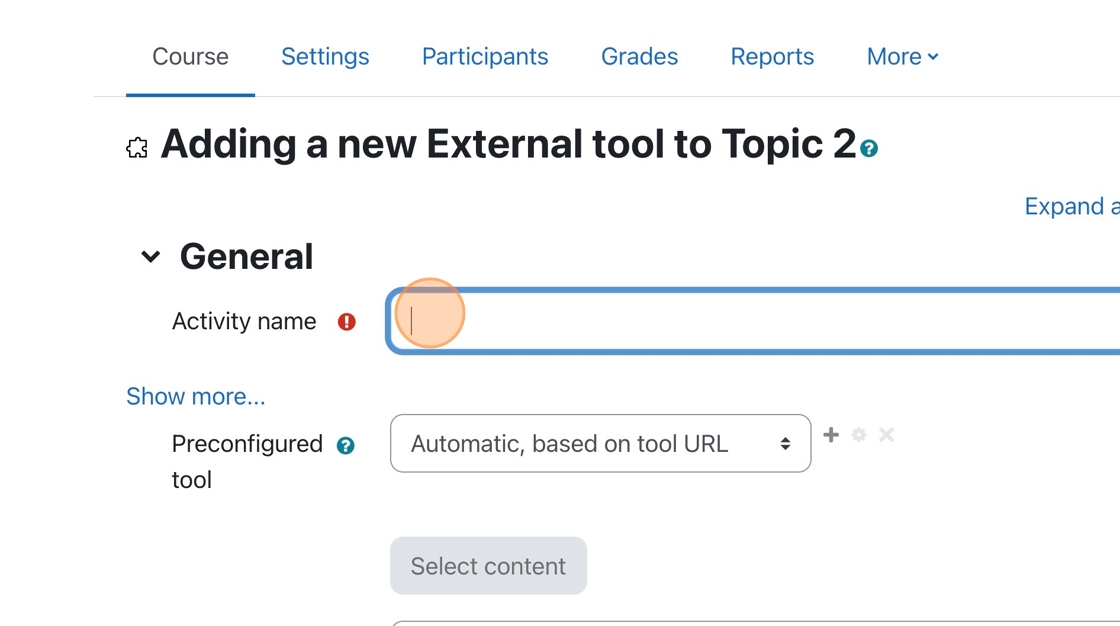
5. Click the Preconfigured tool dropdown menu.
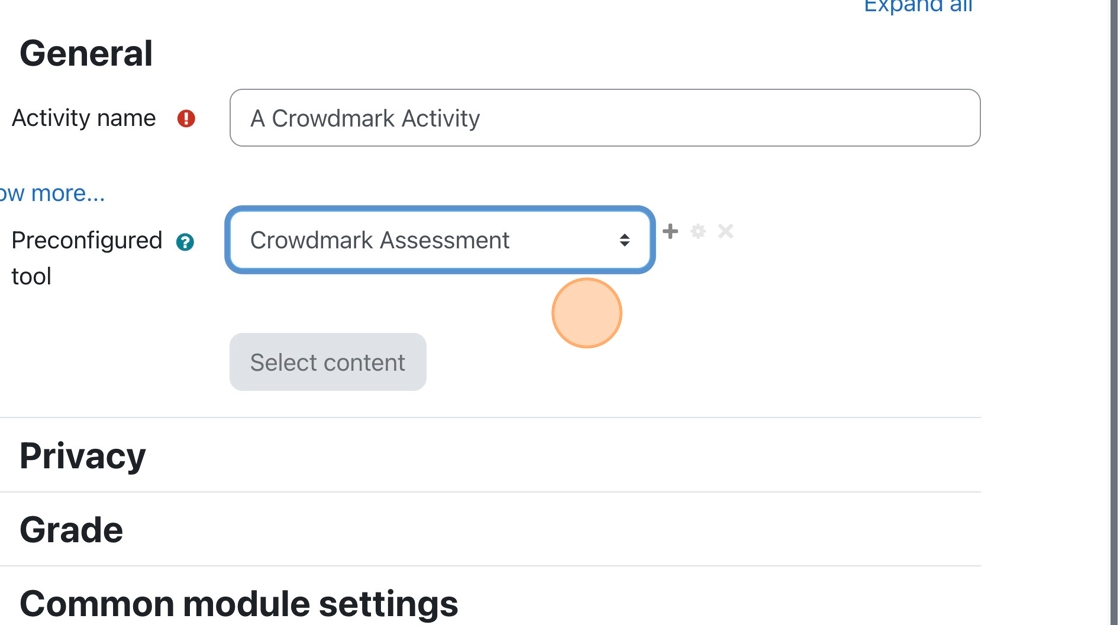
6. Choose Crowdmark Assessment from the menu.
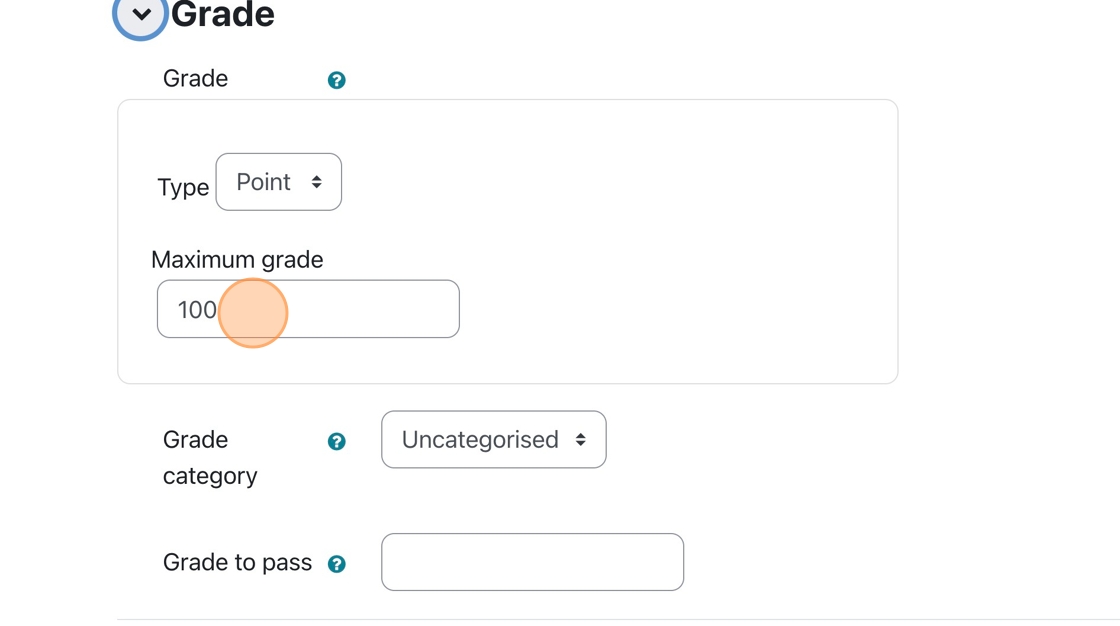
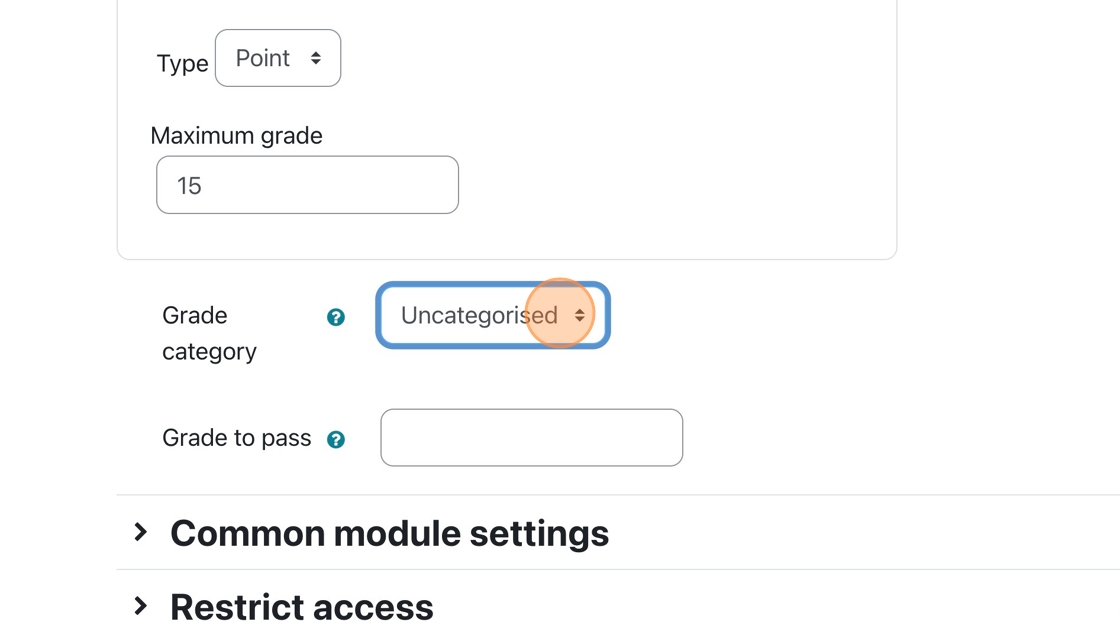
7. Click “Grade,” then modify the Maximum Grade so it is equivalent to the grade that will come from Crowdmark.
8. If you grade a Crowdmark assessment out of 15 but forget to change the maximum grade to 15 in Moodle, you must do so before syncing all the grades to Moodle. You may run into errors when syncing your grades if you do not.
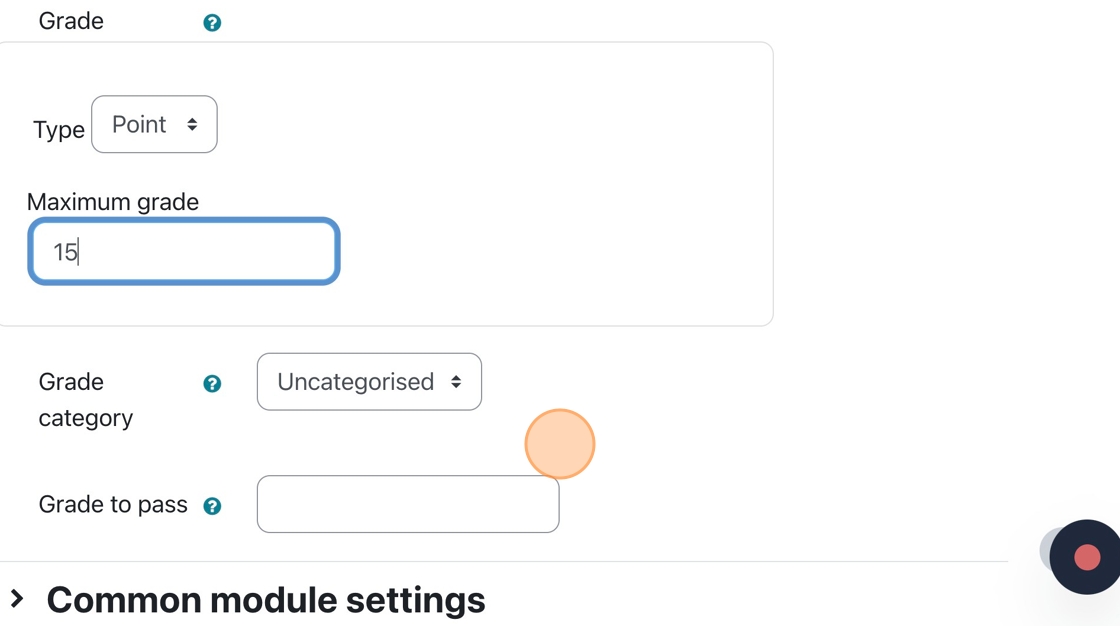
9. If you have different categories in Moodle’s grade area, you can choose the category to which the assessment belongs.
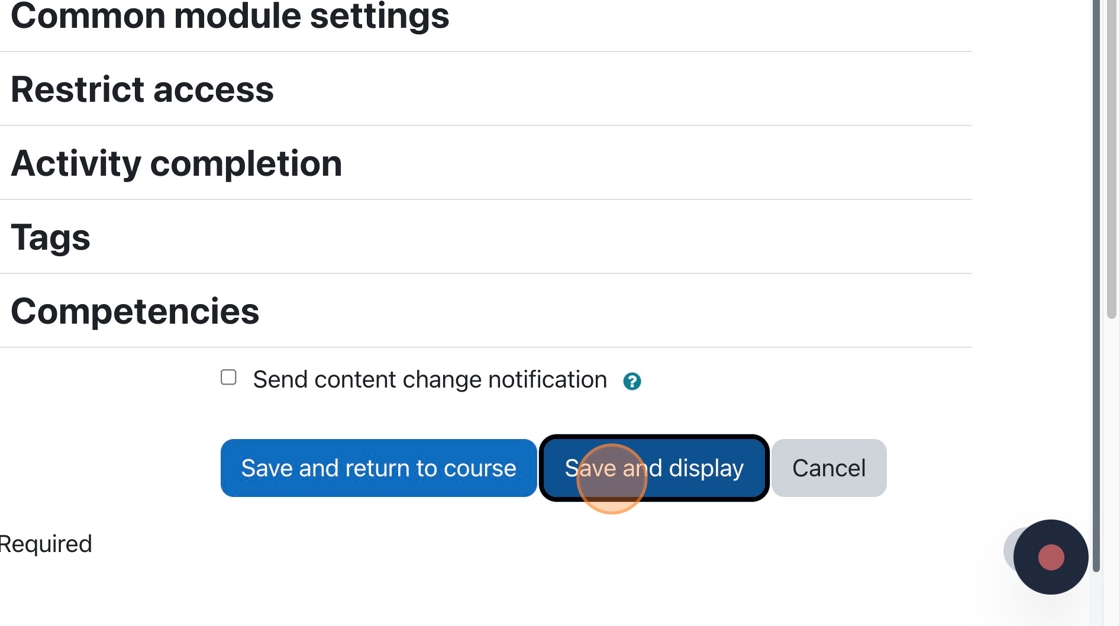
10. You are all finished the Moodle portion of the Crowdmark assessment setup
Tip: This tutorial set up the connection between Crowdmark and Moodle. You will still need to add questions to the assessment. This can be done when you click the Crowdmark assessment on the main course page.
A new Crowdmark window opens up. You can add questions and set the distribution factors in that window.

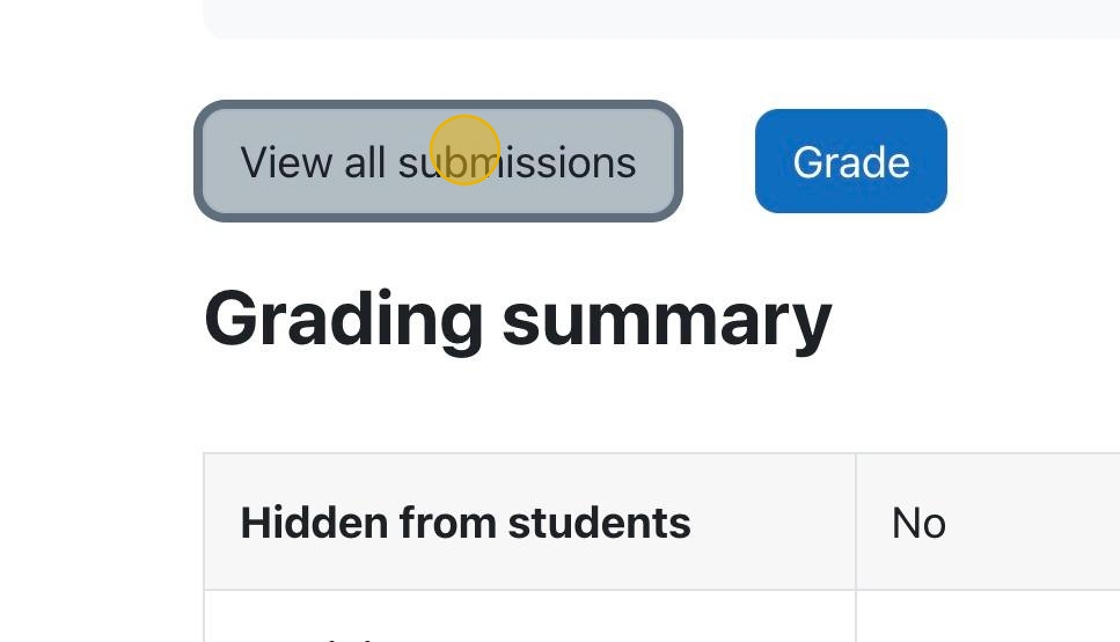
1. Now that the rubric is all setup, we can start grading the submissions.
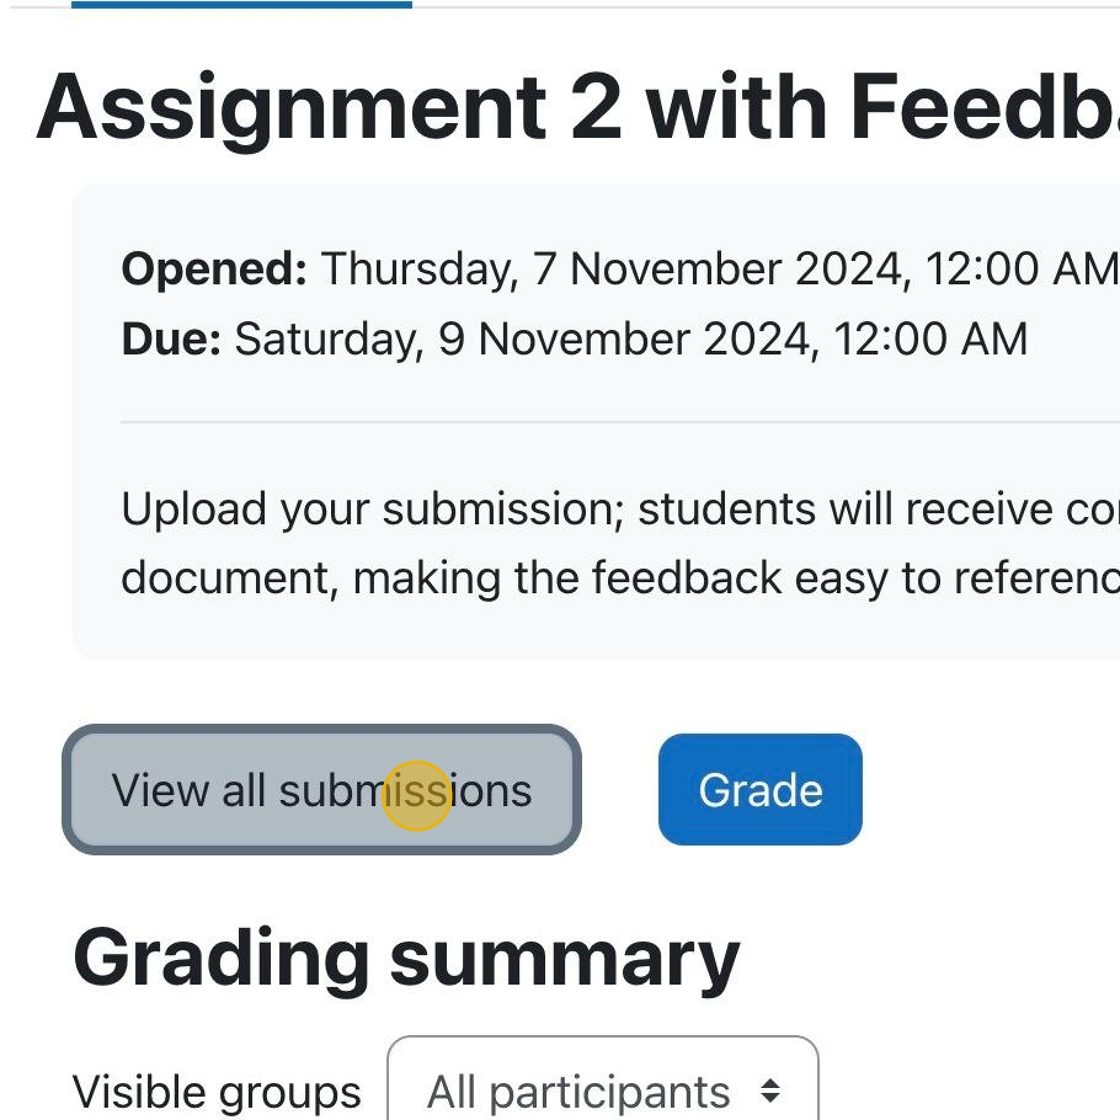
Click “View all submissions” to see all the submissions so you can select specific submissions to grade.

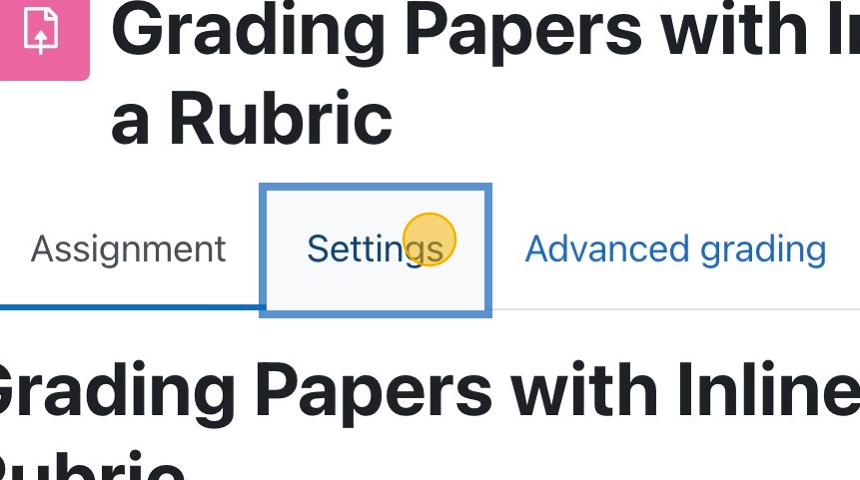
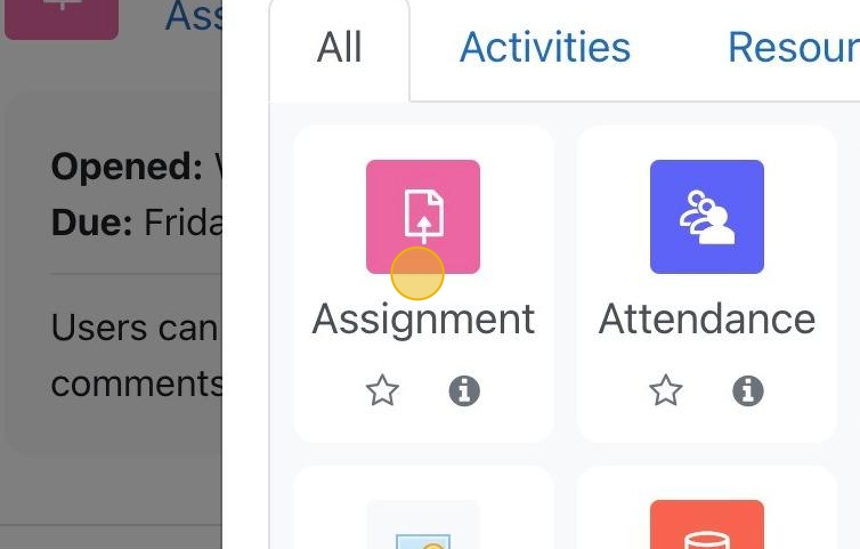
1. Click on an assignment to be taken to the assignment page. Alternatively, you can add a new activity or resource and choose “Assignment.”
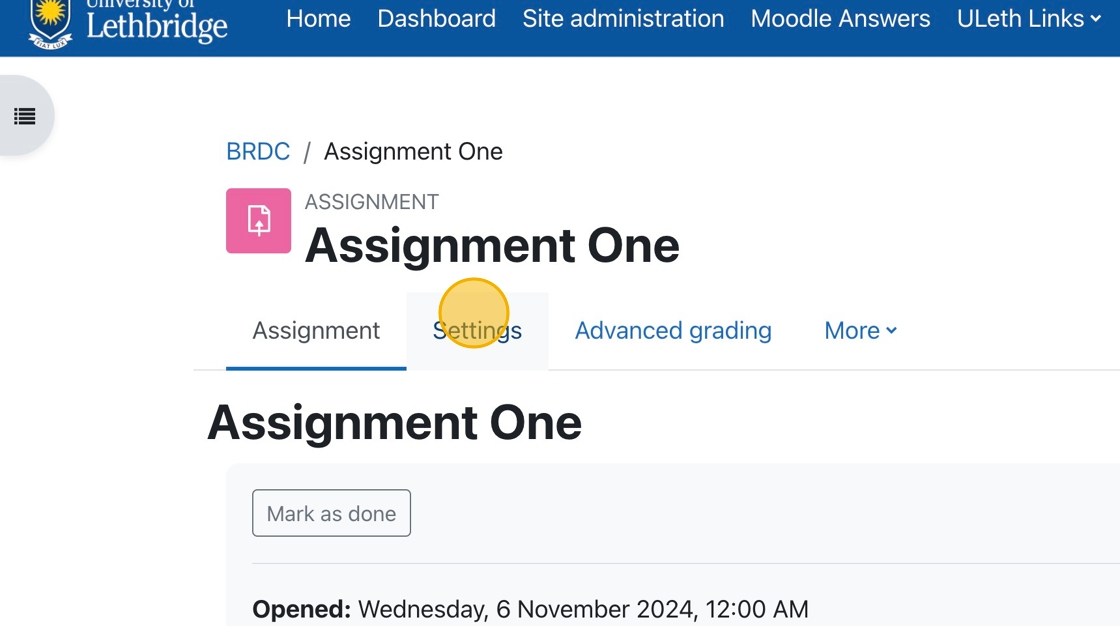
2. Click “Settings” to see ALL the assignment settings.

How To Grade Assignments and Provide Feedback with inLine Comments
1. In your course, click on the assignment for which grading is required.
2. You can click “View all submissions ” to choose a specific student to grade.